接口测试 [接口测试平台一期] 接口测试用例参数化方案
缘由
12 月 23 号去上海参加了论坛举办的活动,干货蛮多的,感觉别人家做的都好腻害,
其中 Lego 接口自动化测试印象挺深的,通过配置文件的方式生成接口测试用例,
因为恰好我们公司也准备做接口自动化的部分,之前还没有这部分
依赖
- rest-assured
- testng
两种方案
代码实现
这是我在参加活动前的方案,有同事推荐 retrofit 不错,自己写了一下,感觉不方便
在论坛上看到的 rest-assured 挺不错的,用起来方便的
@Slf4j
@Listeners({InterfaceFailureHandle.class, Retry.class})
public abstract class BaseInterfaceTest {

    public static Map<String, String> testParametersMap = new HashMap<>();

    static {

        /** 公共参数 **/
        testParametersMap.put("appKey", "android_111");
        testParametersMap.put("appTimestamp", String.valueOf(System.currentTimeMillis()));
        testParametersMap.put("appTypeId", "0");
        testParametersMap.put("cookieId", "eee");
        testParametersMap.put("countryCode", "SA");
        testParametersMap.put("currency", "SAR");

    }

    @BeforeClass
    @Parameters({"baseUrl", "appVersion"})
    public void init(@Optional String baseUrl, @Optional String appVersion) {
        log.debug("init");

        if (baseUrl == null) {
            baseUrl= "http://weekly.test.com";
        }
        if (appVersion != null) {
            testParametersMap.put("appVersion", appVersion);
        }

        RestAssured.baseURI = baseUrl;
        RestAssured.enableLoggingOfRequestAndResponseIfValidationFails();
        RestAssured.requestSpecification = new RequestSpecBuilder().build().accept(JSON).contentType(JSON);
    }

}
@Slf4j
@Listeners({InterfaceFailureHandle.class})
public class LoginNew extends BaseInterfaceTest{

    @Test
    public void loginWithUerNamePassword() {
        log.debug("actions");

        JSONObject jsonObject = new JSONObject();
        testParametersMap.put("userName", "carl@163.com");
        testParametersMap.put("password", "kkkkkk");
        jsonObject.putAll(testParametersMap);
        testParametersMap.put("sign", SignGen.getSign(jsonObject, SignGen.appSecret));
        jsonObject.putAll(testParametersMap);

        log.debug(jsonObject.toJSONString());

        given().body(jsonObject.toJSONString())
                .when().post("/user/login").then()
                .body("messageCode", is("0"),
                        "messageType", is(0));
    }
}
参数配置实现
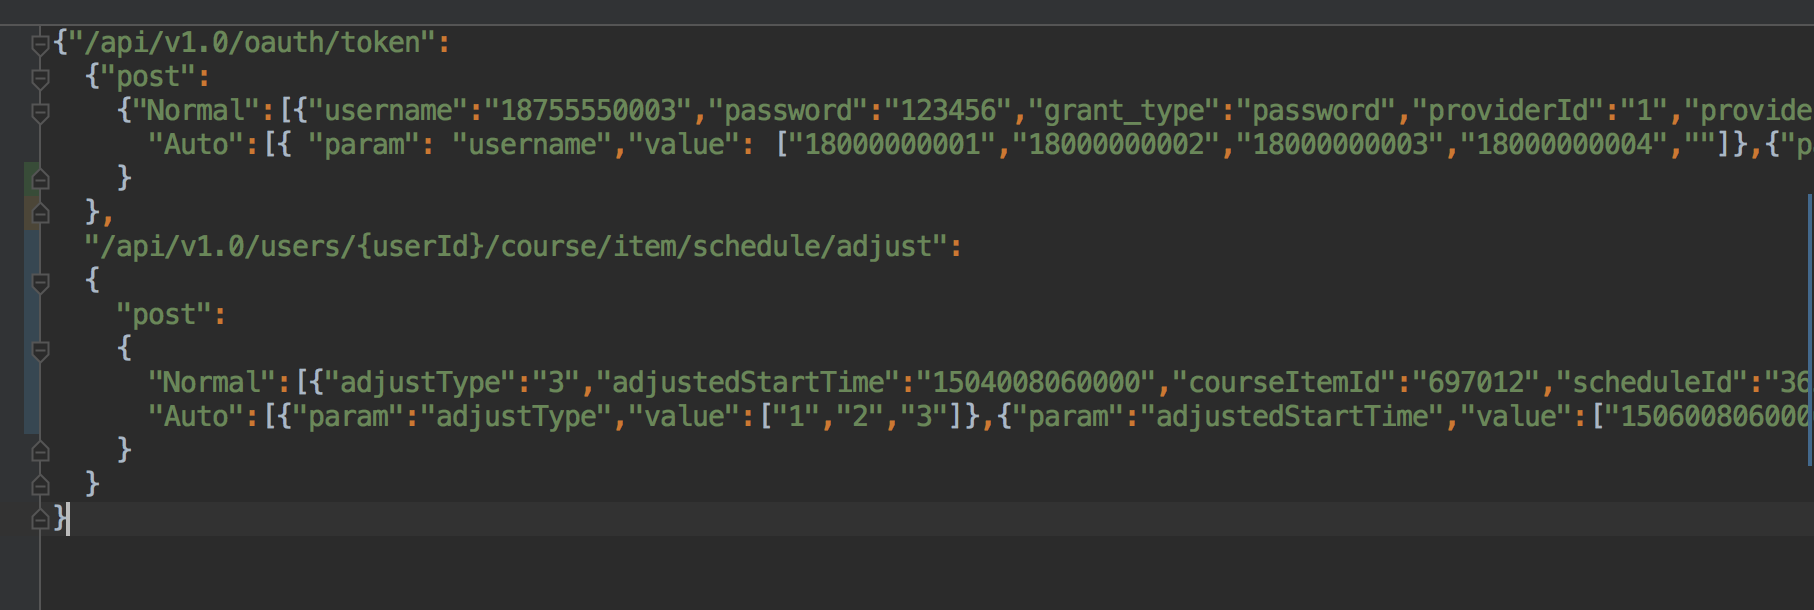
简单学习了一下 yaml 配置文件的写法,还是没完全搞清楚,
所以我选择写出 javabean 出来先,然后 dump 出来,再按 dump 出来的格式学着具体写
@Data
public class APITestProject {

    private String baseUrl;
    private Map<String, Object> globalRequestParmeters = new HashMap<>();
    private Map<String, APITestSuite> testSuites = new HashMap<>();

}
@Data
public class APITestSuite {

    private String description;
    private List<APITestCase> testCaseList = new ArrayList<>();
    private Map<String, Object> testSuiteParameters = new HashMap<>();
}
@Data
public class APITestCase {

    private String name;
    private String description;
    private String apiUrl;
    private Map<String, String> sqlCommands = new HashMap<>();
    private Map<String, Object> requestParameters = new HashMap<>();
    private Map<String, Map<String, Object>> resultVerify = new HashMap<>();
}
一个 project 下面有多个 testsuite,一个 testsuite 下面有多个用例,然后全局参数,测试套参数,用例参数,校验结果
!!APITestProject
baseUrl: http://weekly.test.com
#全局参数
globalRequestParmeters:
  appVersion: '6.12'
  appTypeId: '0'
  countryCode: SA
  cookieId: e0dc298b-2e2d-4f14-ab80-cfcce4471679
  appKey: android_lk98f83
  currency: SAR
  lang: '0'
  appTimestamp: '1514204071822'
  terminalType: '1'
#测试套集合
testSuites:
  firstSuite:
    description: testSuiteDesc
    #测试用例集合
    testCaseList:
    - apiUrl: /user/login
      description: kkk
      name: loginNew
      requestParameters:
        password: kkkkkk
        userName: clark@163.com
      resultVerify:
        #结果校验
        is:
          messageType: 0
          messageCode: '0'
      #sql,在测试前或测试后做数据准备或还原,未完成
      sqlCommands: {}
    #测试套参数集合
    testSuiteParameters: {}
@Slf4j
@Listeners({InterfaceFailureHandle.class, Retry.class})
public class APITestExecutor {

    private static Map<String, Object> testParametersMap = new HashMap<>();
    private static APITestProject apiTestProject;

    static {

        Yaml yaml = new Yaml();
        try {
            apiTestProject = yaml.loadAs(new FileInputStream(new File("src\\main\\resources\\InterfaceTest.yaml")), APITestProject.class);
            testParametersMap.putAll(apiTestProject.getGlobalRequestParmeters());
        } catch (FileNotFoundException e) {
            e.printStackTrace();
            log.debug(e.getMessage());
        }
    }

    @BeforeMethod
    @Parameters({"baseUrl", "appVersion"})
    public void init(@Optional String baseUrl, @Optional String appVersion) {
        log.debug("init");

        if (baseUrl == null) {
            baseUrl = apiTestProject.getBaseUrl();
        }
        if (appVersion != null) {
            testParametersMap.put("appVersion", appVersion);
        }

        RestAssured.baseURI = baseUrl;
        RestAssured.enableLoggingOfRequestAndResponseIfValidationFails();
        RestAssured.requestSpecification = new RequestSpecBuilder().build().accept(JSON).contentType(JSON);

    }

    @Test
    public void executor() {

        JSONObject jsonObject = new JSONObject();

        Map<String, APITestSuite> testSuites = apiTestProject.getTestSuites();
        for (Map.Entry<String, APITestSuite> entry : testSuites.entrySet()) {

            List<APITestCase> testCases = entry.getValue().getTestCaseList();
            for (APITestCase testCase : testCases) {
                testParametersMap.putAll(testCase.getRequestParameters());
                jsonObject.putAll(testParametersMap);

                testParametersMap.put("sign", SignGen.getSign(jsonObject, SignGen.appSecret));
                jsonObject.putAll(testParametersMap);

                log.debug(jsonObject.toJSONString());

                ValidatableResponse validatable = given().body(jsonObject.toJSONString()).when().post(testCase.getApiUrl()).then();

                Map<String, Map<String, Object>> resultVerify = testCase.getResultVerify();

                resultVerify.forEach((condition, v) -> {
                    v.forEach((key, value) -> {
                        try {
                            Matchers matches = new Matchers();
                            Matcher matcher = (Matcher) Matchers.class.getDeclaredMethod(condition, Object.class).invoke(matches, value);

                            validatable.body(key, matcher);
                        } catch (IllegalAccessException e) {
                            e.printStackTrace();
                        } catch (InvocationTargetException e) {
                            e.printStackTrace();
                        } catch (NoSuchMethodException e) {
                            e.printStackTrace();
                        }

                    });
                });

                validatable.log().all();

            }
        }

    }

}
读取 yaml 文件并遍历,执行测试
对比
代码:
- 优点是写代码,灵活性高,特殊场景什么的都可以处理;
- 缺点:如果 100,1000 条用例的话,重复代码非常多,后期维护可能很心累
配置文件:
- 优点是结构清晰,轻量级
- 缺点:未来可能出现特殊场景,随着用例数上去之后,很难通过修改配置文件的方式去兼容更多的场景
问题
- 如果 yaml 文件中有 10 条用例,在执行时是放在一个@Test方法中执行的,就是说第 3 条用例失败即全部失败了,如何进一步拆分
- rest-assured 初始化需要 7~8 秒的时间,感觉有点长了
解决方案
-
通过代码来运行 testNG 的测试用例,读取用例后,放入队列中,每次执行时读取一条用例即可
public class APITestRun {

public static void main(String[] args) {
    for (int i=0; i<APITestUtils.getBlockingQueue().size(); i++) {
        TestNG testNG = new TestNG();
        testNG.setTestClasses(new Class[]{APITestExecutor.class});
        testNG.run();
    }

}
}
@Slf4j
@Listeners({InterfaceFailureHandle.class, Retry.class})
public class APITestExecutor {

    private APITestCase testCase;

    @BeforeMethod
    @Parameters({"baseURL"})
    public void init(@Optional String baseURL) {
        log.debug("init");

        if (baseURL == null) {
            baseURL = APITestUtils.getApiTestProject().getBaseURL();
        }

        RestAssured.baseURI = baseURL;
        RestAssured.enableLoggingOfRequestAndResponseIfValidationFails();
        RestAssured.requestSpecification = new RequestSpecBuilder().build().accept(JSON).contentType(JSON);

        testCase = APITestUtils.getTestCase();
    }

    @Test
    public void executor() {

        JSONObject jsonObject = new JSONObject();
        jsonObject.putAll(APITestUtils.getApiTestProject().getGlobalRequestParmeters());
        jsonObject.putAll(testCase.getRequestParameters());

        String sign = SignGenerate.getSign(jsonObject, SignGenerate.appSecret);
        jsonObject.put("sign", sign);

        log.debug(jsonObject.toJSONString());

        ValidatableResponse validatableResponse = given().body(jsonObject.toJSONString()).when().post(testCase.getApiUrl()).then();

        Map<String, Map<String, Object>> resultVerify = testCase.getResponseVerify();

        resultVerify.forEach((condition, v) -> {
            v.forEach((key, value) -> {
                try {
                    Matchers matchers = new Matchers();
                    Matcher matcher = (Matcher) Matchers.class.getDeclaredMethod(condition, Object.class).invoke(matchers, value);
                    validatableResponse.body(key, matcher);
                } catch (Exception e) {
                    e.printStackTrace();
                }
            });
        });

        validatableResponse.log().all();

        updateTestCaseInfo();
    }

    /**
     * 更新测试用例的名字和描述信息
     */
    public void updateTestCaseInfo() {
        TestCaseEvent testCaseEvent = new TestCaseEvent() {
            @Override
            public void process(TestCaseResult testCaseResult) {
                log.debug("name:" + APITestUtils.getCurrentTestCase().getName());
                log.debug("description:" + APITestUtils.getCurrentTestCase().getDescription());
                testCaseResult.setName(APITestUtils.getCurrentTestCase().getName());
                ru.yandex.qatools.allure.model.Description description = new ru.yandex.qatools.allure.model.Description();
                description.setValue(APITestUtils.getCurrentTestCase().getDescription());
                testCaseResult.setDescription(description);
//                testCaseResult.getLabels().add(new Label().withName("testSuite").withValue(""));
            }
        };

        APITestUtils.getAllure().fire(testCaseEvent);
    }
}
@Slf4j
public final class APITestUtils {

    private static APITestProject apiTestProject;
    private static BlockingQueue<APITestCase> blockingQueue = new LinkedBlockingQueue<>();
    private static APITestCase currentTestCase;
    private static Allure allure = Allure.LIFECYCLE;

    private APITestUtils() {

    }

    static {
        Yaml yaml = new Yaml();
        try {
            // 加载用例文件
            apiTestProject = yaml.loadAs(new FileInputStream(new File("src\\main\\resources\\InterfaceTest.yaml")), APITestProject.class);
        } catch (FileNotFoundException e) {
            e.printStackTrace();
            log.debug(e.getMessage());
        }

        /** 遍历用例并放入队例中 **/
        Map<String, APITestSuite> testSuites = apiTestProject.getTestSuites();
        for (Map.Entry<String, APITestSuite> entry : testSuites.entrySet()) {
            List<APITestCase> testCases = entry.getValue().getTestCaseList();
            blockingQueue.addAll(testCases);
        }
    }

    public static BlockingQueue<APITestCase> getBlockingQueue() {
        return blockingQueue;
    }

    public static APITestCase getTestCase() {
        currentTestCase = blockingQueue.poll();
        return currentTestCase;
    }

    public static APITestCase getCurrentTestCase() {
        return currentTestCase;
    }

    public static APITestProject getApiTestProject() {
        return apiTestProject;
    }

    public static Allure getAllure() {
        return allure;
    }
报告

其他小芝麻
TestNG 测试注解以及生命周期:
@BeforeClass(执行一次)
@BeforeMethod(N 个 Test 方法执行 N 次)
@Test Test 方法(此注解可能在类上表示多个,在方法表示一个)
@AfterMethod(N 个 Test 方法执行 N 次)
@AfterClass(执行一次)LinkedBlockingQueue
poll: 若队列为空,返回 null。
remove:若队列为空,抛出 NoSuchElementException 异常。
take:若队列为空,发生阻塞,等待有元素。okhttp EOF Exception
见=>https://blog.csdn.net/m_xiaoer/article/details/72858895
最后
看别人做的好漂亮,好厉害,自己动手尝试去做的时候,就感觉坑也不少的
- 更新了下代码,可以看到用例名和描述信息了,不过 Default feature 和 Default story 还没找到,后续再更新,基本需求完成
接下来的问题:
- 如何把参数传到注解中去?因为使用了 allure 报告,就比如用例名,用例描述,如何传递给@Description注解?