最近在帮开发在原有框架集成 Swagger UI,介于网上基本上是 springMVC+maven 的集成方式,因此此简单分享下 springboot+gradle 的集成方式
简单说下使用项目上使用 swagger 的好处,所有接口方法可以动态的生成 API 文档,减少前端、测试等人员想开发询问接口入参、减少开发编写 API 文档的苦逼;
其次 swagger 默认生成的原始文件是 JSON 文件,前端在开发的时候比较喜欢用 RAP 进行服务 mock,RAP 也支持 JSON 文件导入,因此可以基于 swagger 生成的 JSON 文件,写个小程序自动改造成 RAP 支持的 JSON 格式,从而提高整个项目开发及测试效率
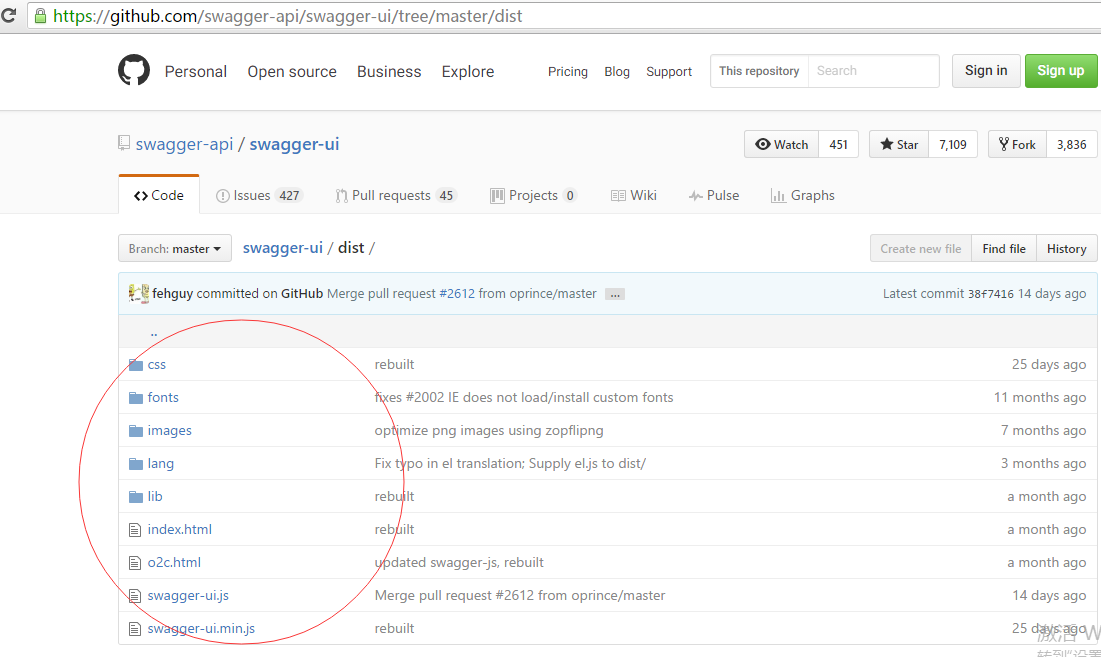
Swagger UI gitHub 地址:https://github.com/swagger-api/swagger-ui
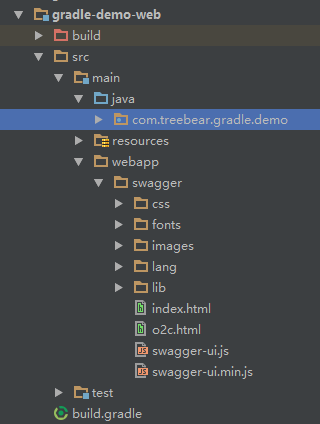
把该路径下的 dist 目录 copy 到 gradle 工程 webapp 目录下
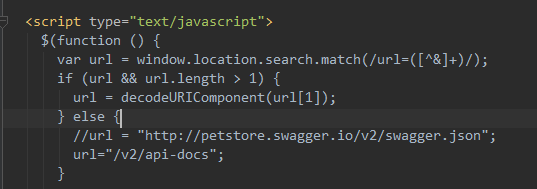
【修改 index.html 文件】
把 url = "http://petstore.swagger.io/v2/swagger.json"; 改为 url="/v2/api-docs";
【添加 swagger 依赖】
修改 build.gradle
//swagger-start
compile 'io.swagger:swagger-jersey2-jaxrs:1.5.8'
compile('io.springfox:springfox-swagger2:2.2.2')
compile('io.springfox:springfox-swagger-ui:2.2.2')
compile('com.mangofactory:swagger-springmvc:1.0.2')
compile('com.mangofactory:swagger-models:1.0.2')
compile('com.wordnik:swagger-annotations:1.3.11')
//swagger-end
【java 代码上配置】
SwaggerConfig.java
package com.treebear.gradle.demo.config;

import com.google.common.collect.Lists;
import org.springframework.context.annotation.Bean;
import org.springframework.web.context.request.async.DeferredResult;
import springfox.documentation.builders.ApiInfoBuilder;
import springfox.documentation.builders.PathSelectors;
import springfox.documentation.builders.RequestHandlerSelectors;
import springfox.documentation.service.ApiInfo;
import springfox.documentation.spi.DocumentationType;
import springfox.documentation.spring.web.plugins.Docket;
import springfox.documentation.swagger.web.UiConfiguration;
import springfox.documentation.swagger2.annotations.EnableSwagger2;

import java.util.HashSet;

/**
 * Created by 古月随笔 on 2016/12/29.
 */
@org.springframework.context.annotation.Configuration
@EnableSwagger2
public class SwaggerConfig {
    @Bean
    public Docket documentation(){
        return new Docket(DocumentationType.SWAGGER_2)
                .select()
                .apis(RequestHandlerSelectors.basePackage("com.treebear.gradle.demo"))
                .build()
                .protocols(new HashSet<String>(Lists.newArrayList("http")))
                .pathMapping("/")
                .apiInfo(apiInfo());
    }

    @Bean
    public UiConfiguration uiConfig(){
        return UiConfiguration.DEFAULT;
    }

    private ApiInfo apiInfo(){
        return new ApiInfoBuilder()
                .title("服务API")
                .description("服务端后台接口说明文档")
                .version("1.0")
                .build();
    }
}
主入口方法上加上注解@EnableSwagger2
WebMain.java
package com.sample.gradle.demo;

import org.mybatis.spring.annotation.MapperScan;
import org.springframework.boot.SpringApplication;
import org.springframework.boot.autoconfigure.SpringBootApplication;
import org.springframework.context.ApplicationContext;
import springfox.documentation.swagger2.annotations.EnableSwagger2;

@EnableSwagger2
@SpringBootApplication
public class WebMain {
    public static void main(String[] args) {
        ApplicationContext ctx = SpringApplication.run(WebMain.class, args);
        System.out.println("Let's inspect the beans provided by Spring Boot:");
   }
}
【测试验证】
简单编写个 restful 接口方法
package com.sample.gradle.demo.controller;

import io.swagger.annotations.Api;
import io.swagger.annotations.ApiImplicitParam;
import io.swagger.annotations.ApiImplicitParams;
import io.swagger.annotations.ApiOperation;
import org.springframework.beans.factory.annotation.Autowired;
import org.springframework.http.MediaType;
import org.springframework.stereotype.Controller;
import org.springframework.ui.Model;
import org.springframework.web.bind.annotation.*;
import org.springframework.http.HttpStatus;

import java.util.HashMap;

@Api(value = "Sample", description = "范例相关接口",produces = MediaType.ALL_VALUE)
@Controller
public class TestController {

    //restful接口示例
    @ApiOperation(value = "欢迎页", notes = "欢迎页信息",httpMethod = "GET",produces = MediaType.ALL_VALUE)
    @GetMapping("/hello")
    @ResponseBody
    @ApiImplicitParams({
            @ApiImplicitParam(name = "name",value = "用户名字",required =true,dataType ="String"),
            @ApiImplicitParam(name = "text",value = "内容",required =true,dataType ="String")
    })
    public Object helloRest(@RequestParam String name,
                            @RequestParam String text){
        System.out.println("hello restful!");
        HashMap<String,String> result = new HashMap<String,String>();
        result.put("name", helloService.sayHello(name));
        result.put("text", text);
        result.put("regard", "regarding");
        return result;
    }

}
gradle bootRun 本地调试运行
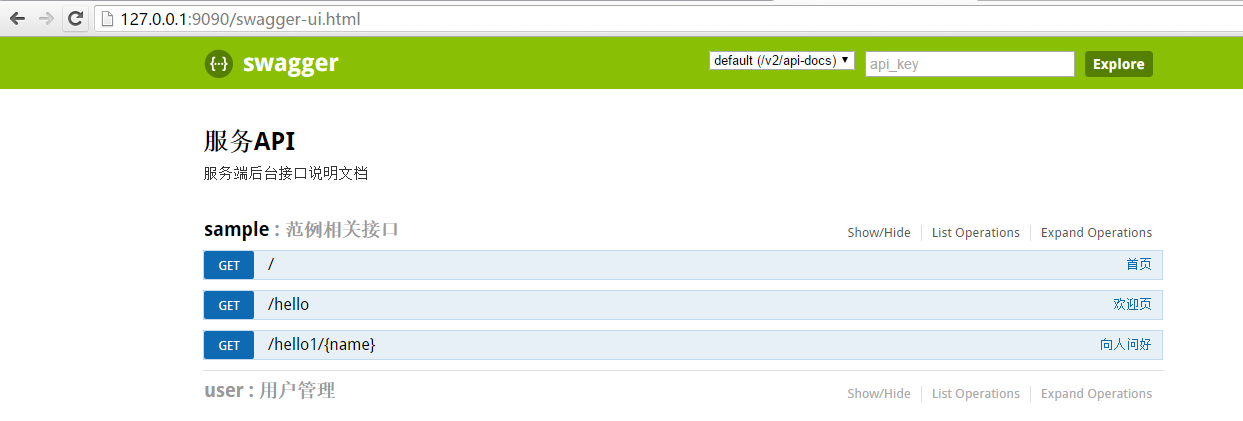
访问:http://127.0.0.1:9090/swagger/index.html
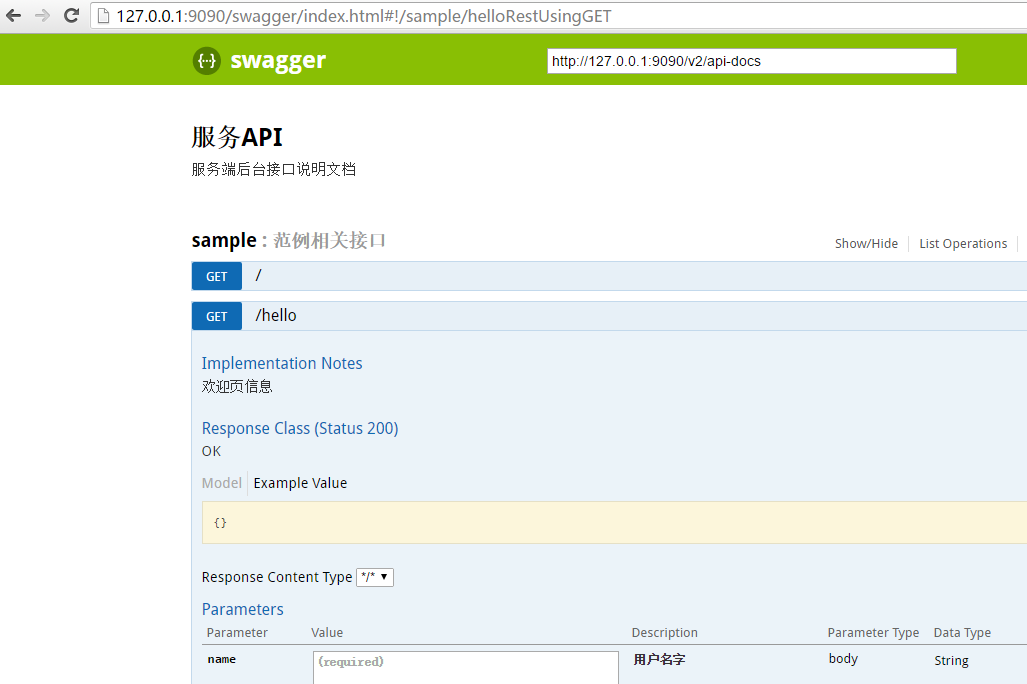
PS:
1.若不想从 swagger-ui 上 copy 前端文件到工程目录下,也可以在服务运行之后,
访问:http://127.0.0.1:9090/swagger-ui.html