influxdb
1.安装:官网https://portal.influxdata.com提供了各种系统的安装方式
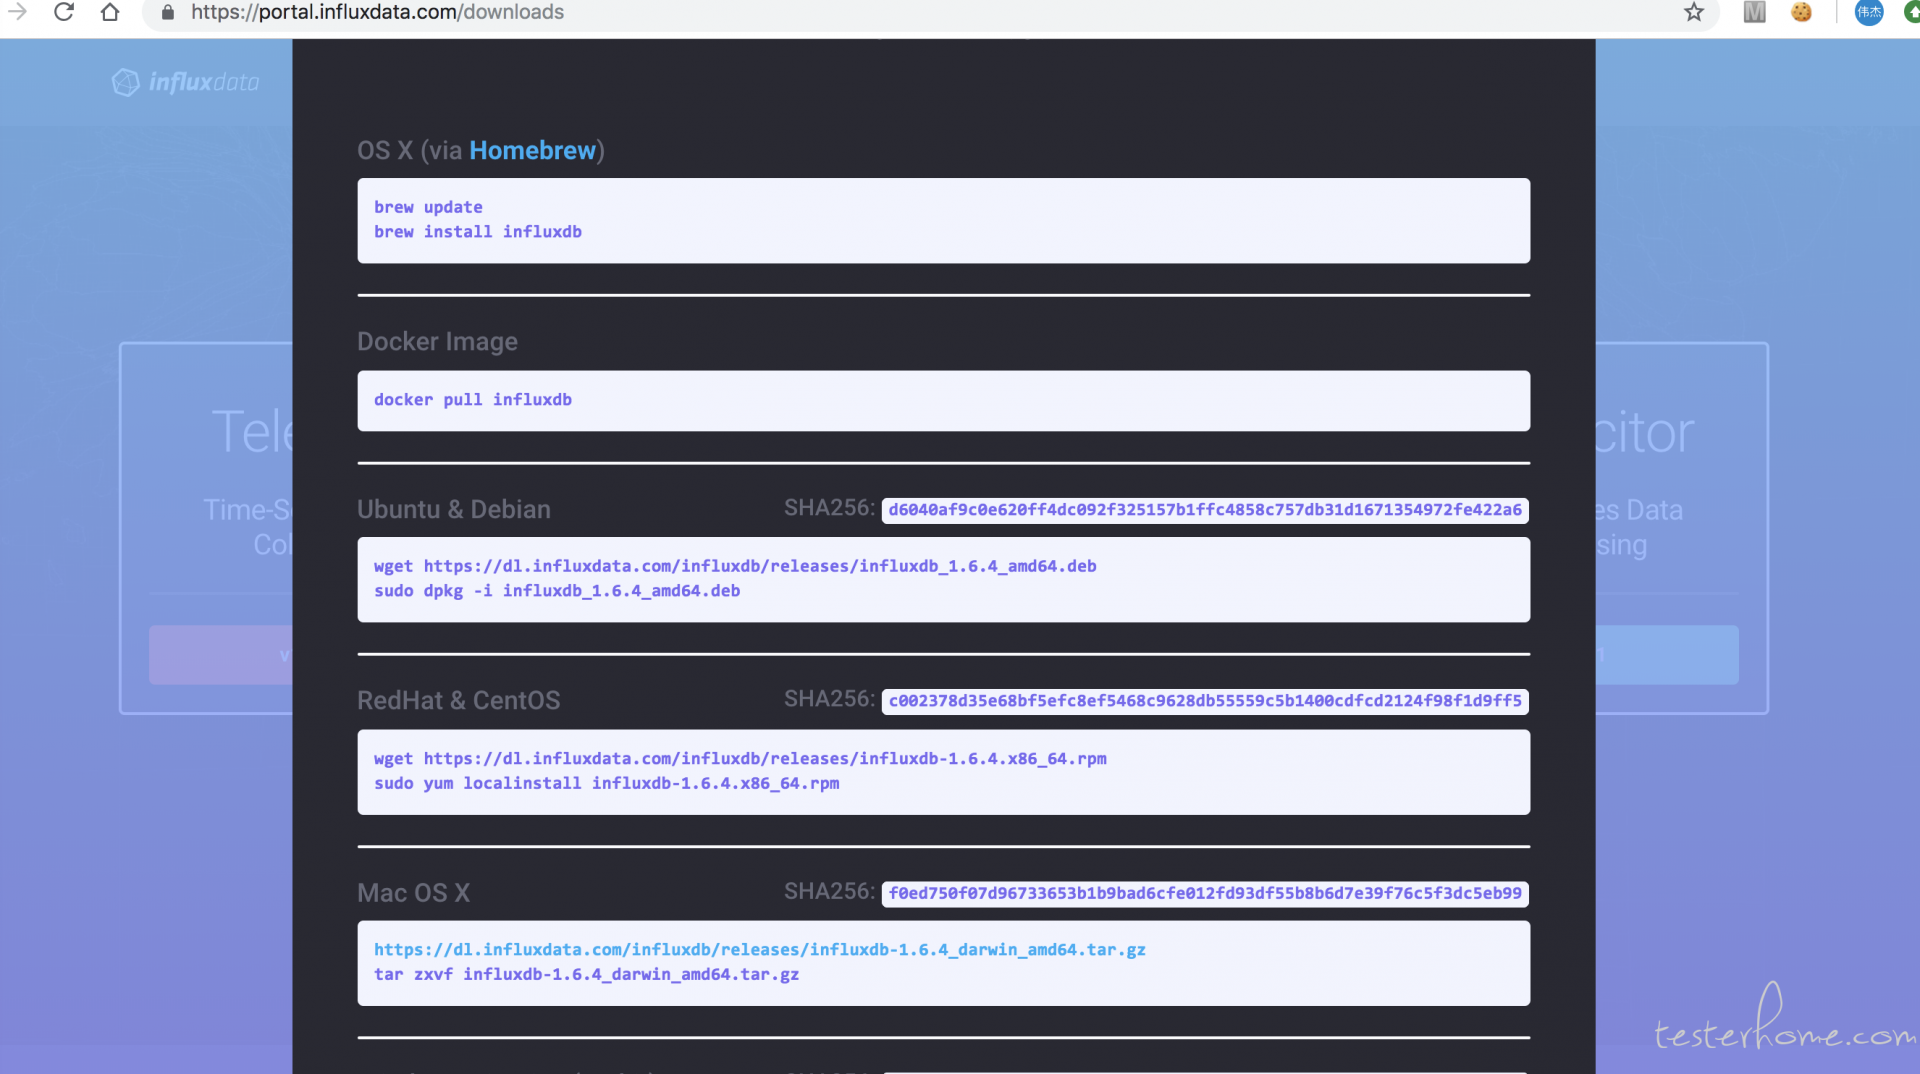
(ps:推荐 docker 安装,可参考https://docs.docker.com/samples/library/influxdb/)
初次使用先暂时不使用 docker
wget https://dl.influxdata.com/influxdb/releases/influxdb-1.6.4.x86_64.rpm
sudo yum localinstall influxdb-1.6.4.x86_64.rpm
2.配置
(ps:influxdb1.4+ 版本后就没有 web 界面了)
配置文件 /etc/influxdb/influxdb.conf
vim /etc/influxdb/influxdb.conf
搜索 graphite 去掉对应的 # 号
[[graphite]]
  # Determines whether the graphite endpoint is enabled.
   enabled = true
   database = "jmeter"
  # retention-policy = ""
   bind-address = ":2003"
   protocol = "tcp"
   consistency-level = "one"
注意:
默认占用 8086/8088 两个端口号,可以根据自己的实际场景进行替换,进入
查询 bind-address,其中端口号对应的用处说明如下
# Bind address to use for the RPC service for backup and restore.
bind-address = "127.0.0.1:8088"

...

[http]
  # Determines whether HTTP endpoint is enabled.
  # enabled = true

  # The bind address used by the HTTP service.
  bind-address = ":8086"
3.启动
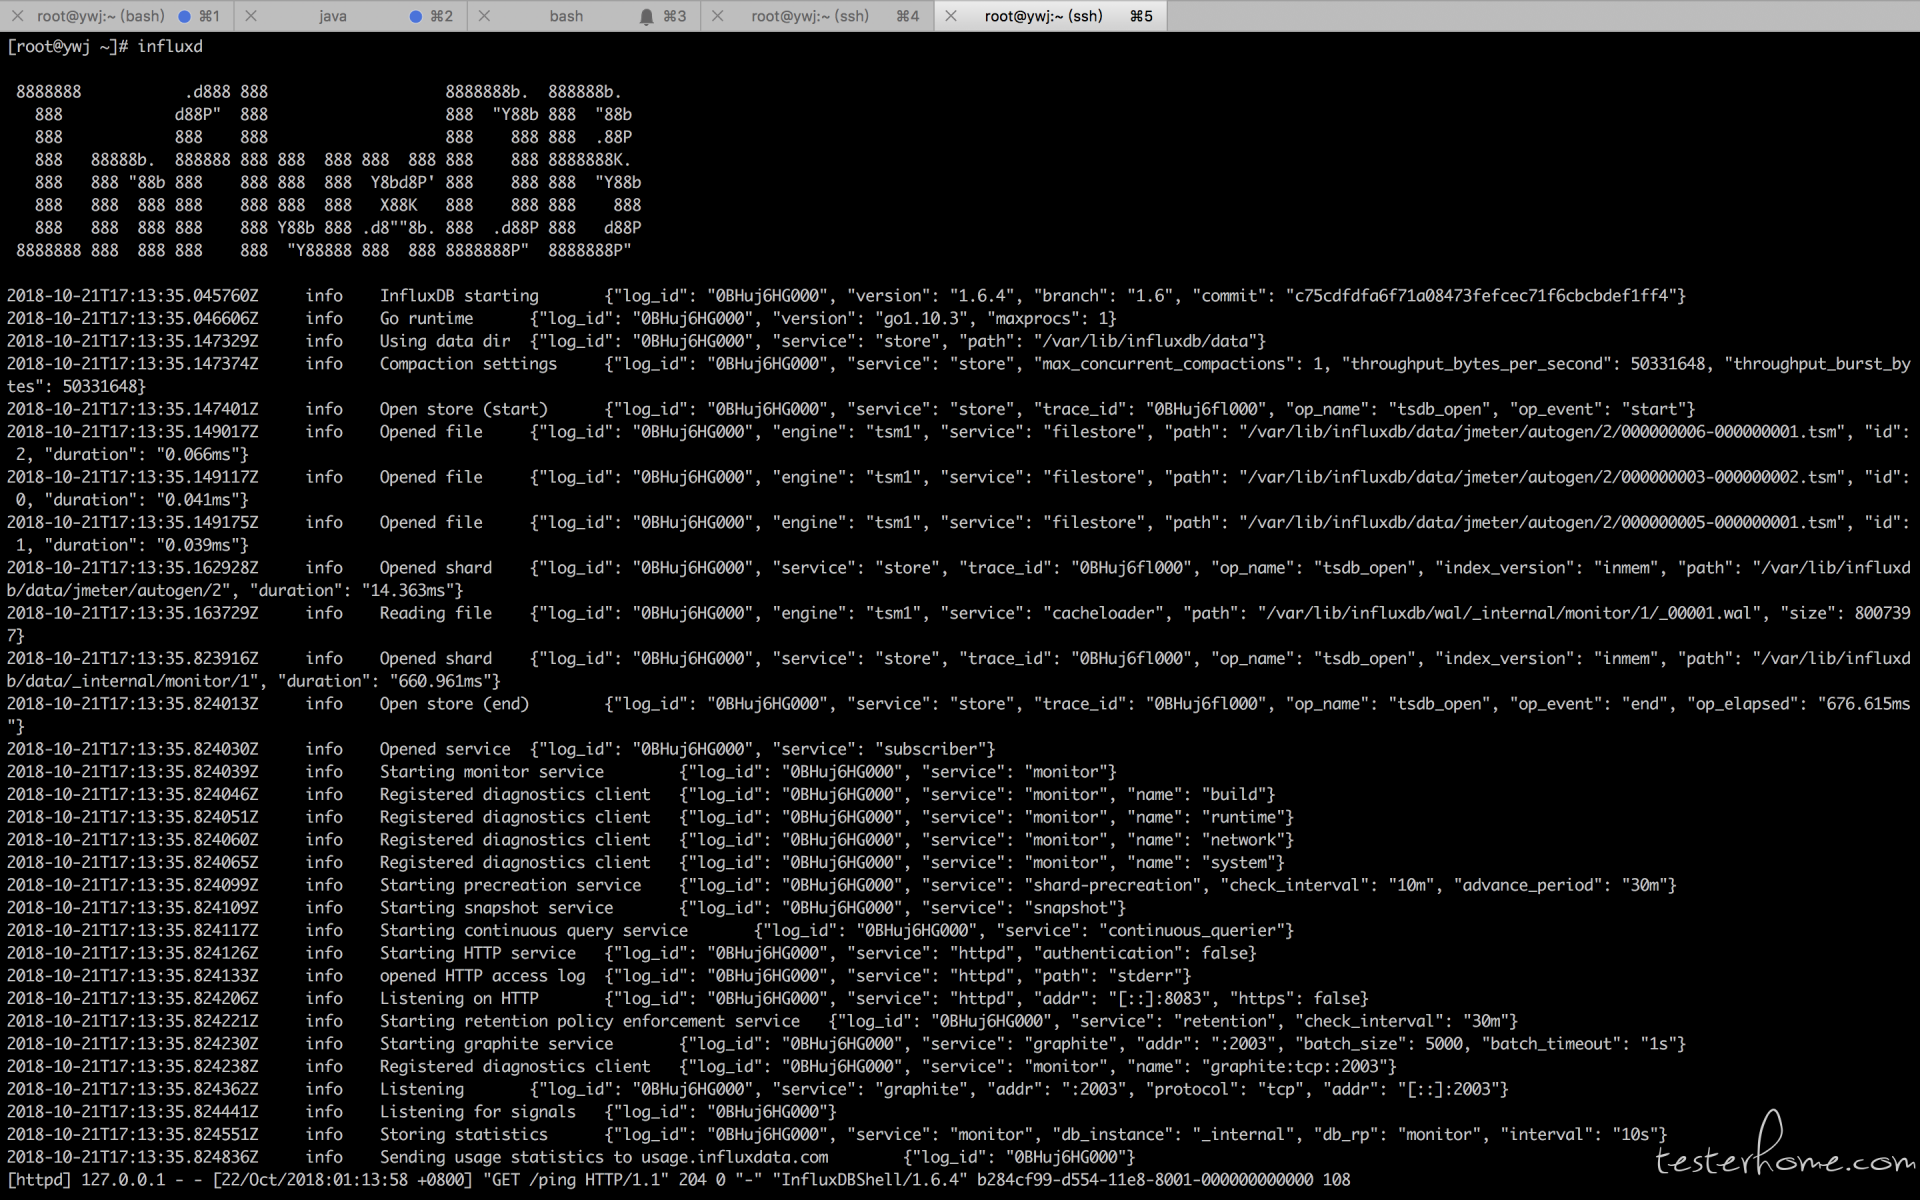
influxd
如下信息说明配置启动成功
4.创建 database
influx
# 如果修改了端口号,则需要显示指定
influx -port xxxx

[root@ywj ~]# influx -port 8083
Connected to http://localhost:8083 version 1.6.4
InfluxDB shell version: 1.6.4
>

# 创建数据库  >后面输入命令 create database xxx
> create database jmeter
# 查看数据库
> show databases
name: databases
name
----
_internal
jmeter
mytest
5.jmeter 添加监听器 Backend Listener 验证数据是否能写入到 influxdb
jmeter4.0
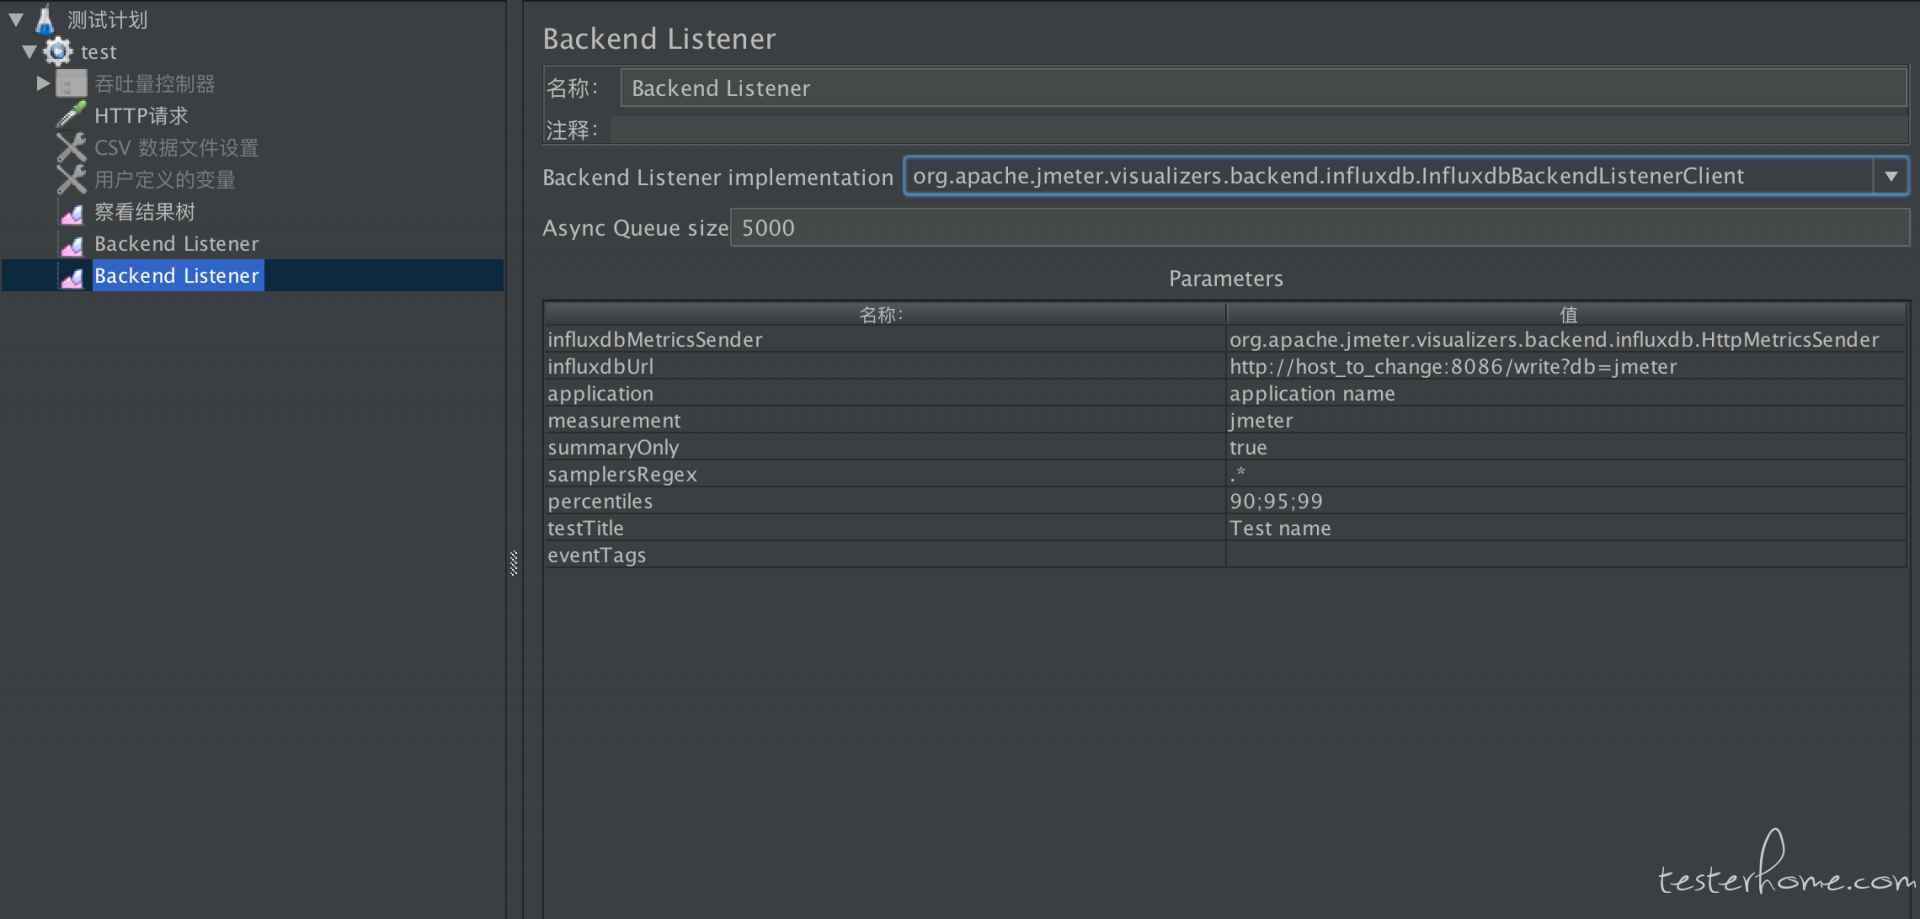
influxdbUrl :http://host_to_change:8086/write?db=jmeter
#host_to_change写安装influxdb服务的ip 端口如修改填写修改后的端口 db前面创建的数据库:jmeter
application :随便写后面grafana会用到
添加请求运行
回到 influx 终端:选择数据库
> use jmeter
执行 sql 语句查看刚刚的请求数据是否有插入,如有说明配置成功
> select * from jmeter
grafana
安装:参考官网http://docs.grafana.org/installation/
wget https://s3-us-west-2.amazonaws.com/grafana-releases/release/grafana-5.1.4-1.x86_64.rpm
yum localinstall grafana-5.1.4-1.x86_64.rpm

#### 启动grafana服务
service grafana-server start
grafana 的端口号是 3000,打开 web 界面:http://172.1.17.129:3000 ,默认账户,密码为 admin/admin。
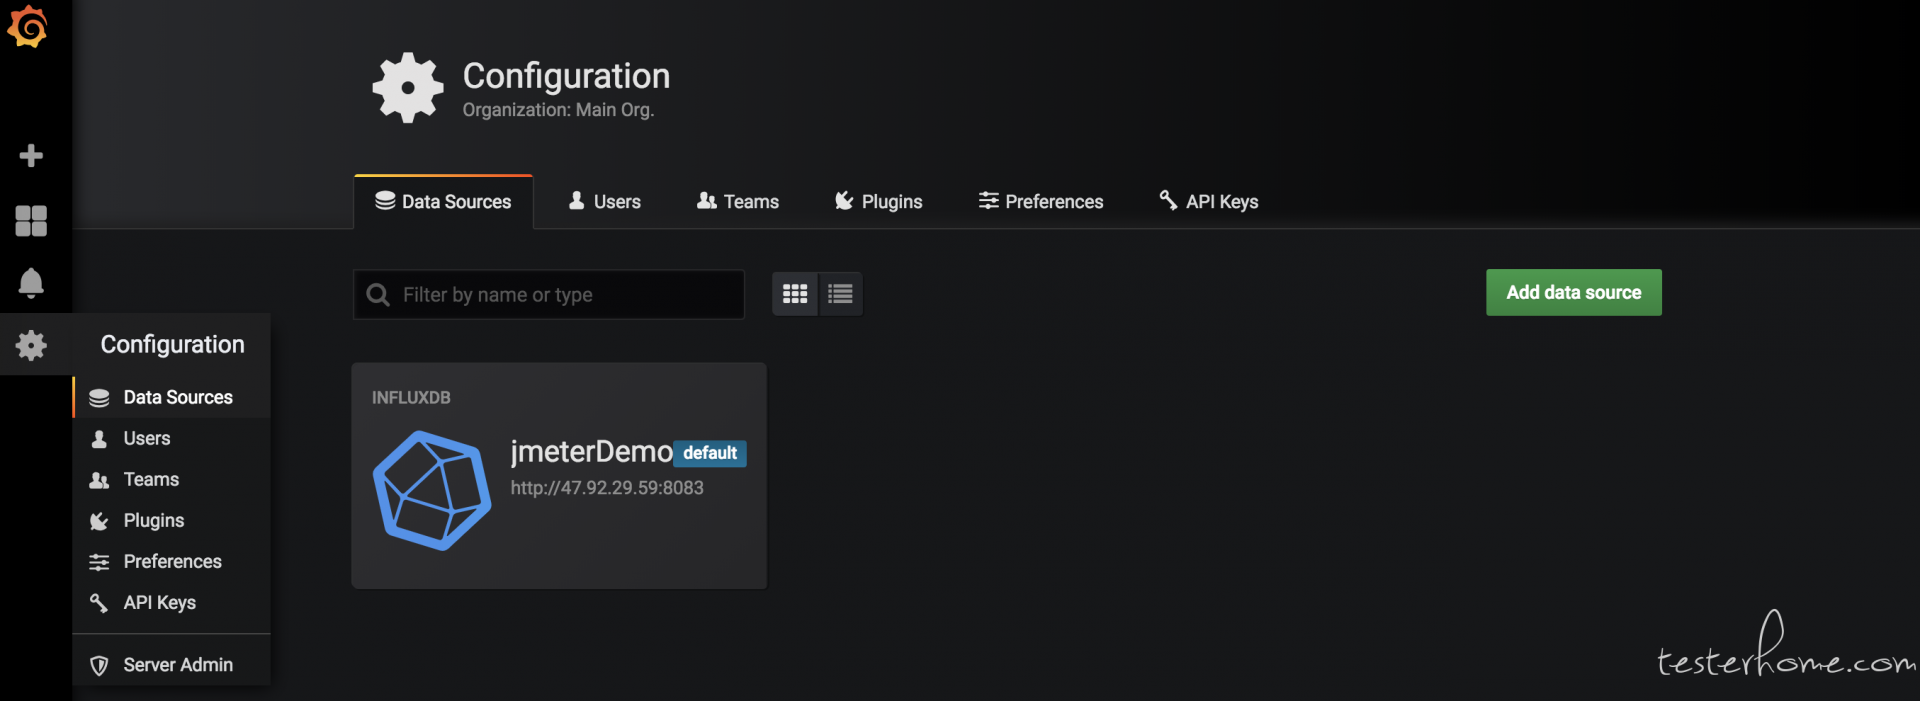
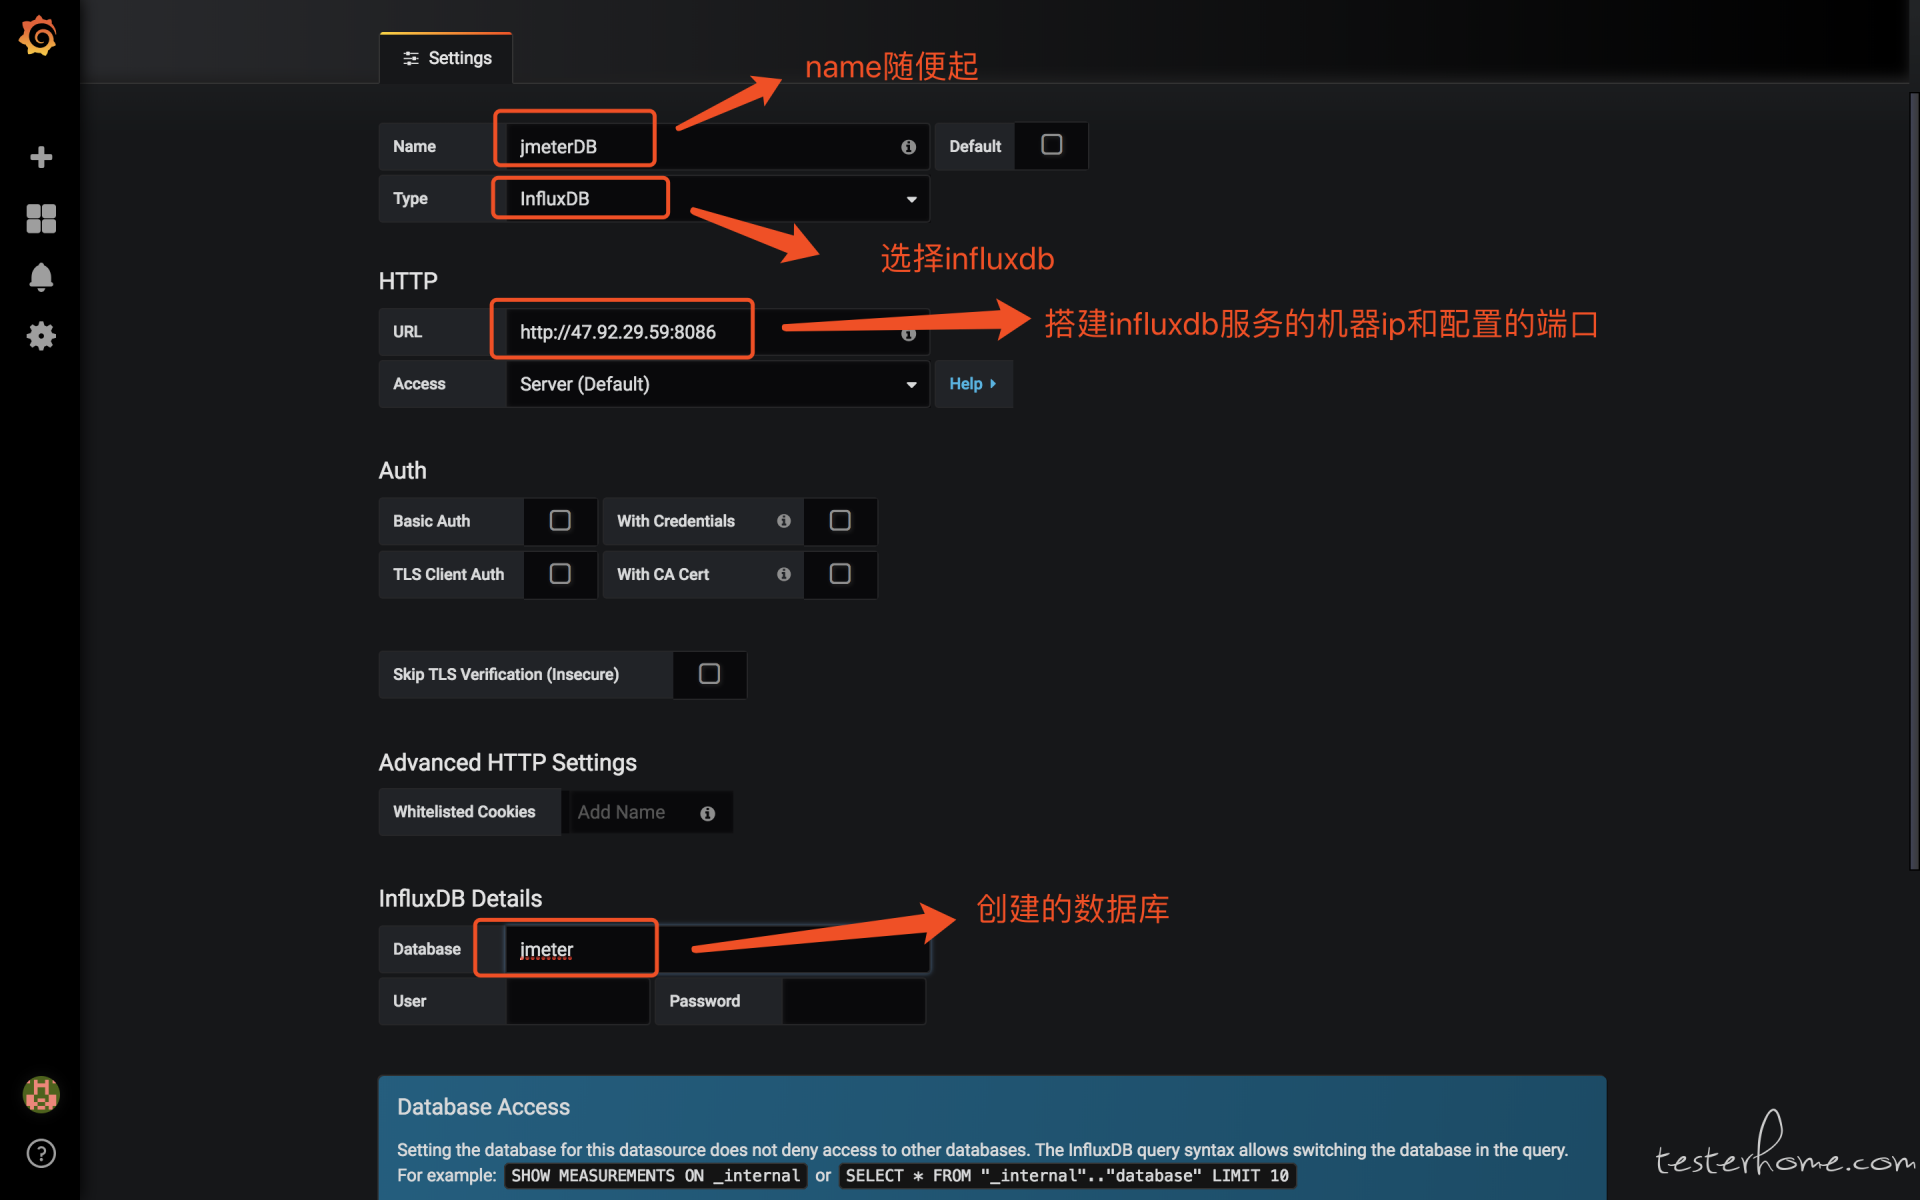
登录后添加 data source 链接 influxdb:
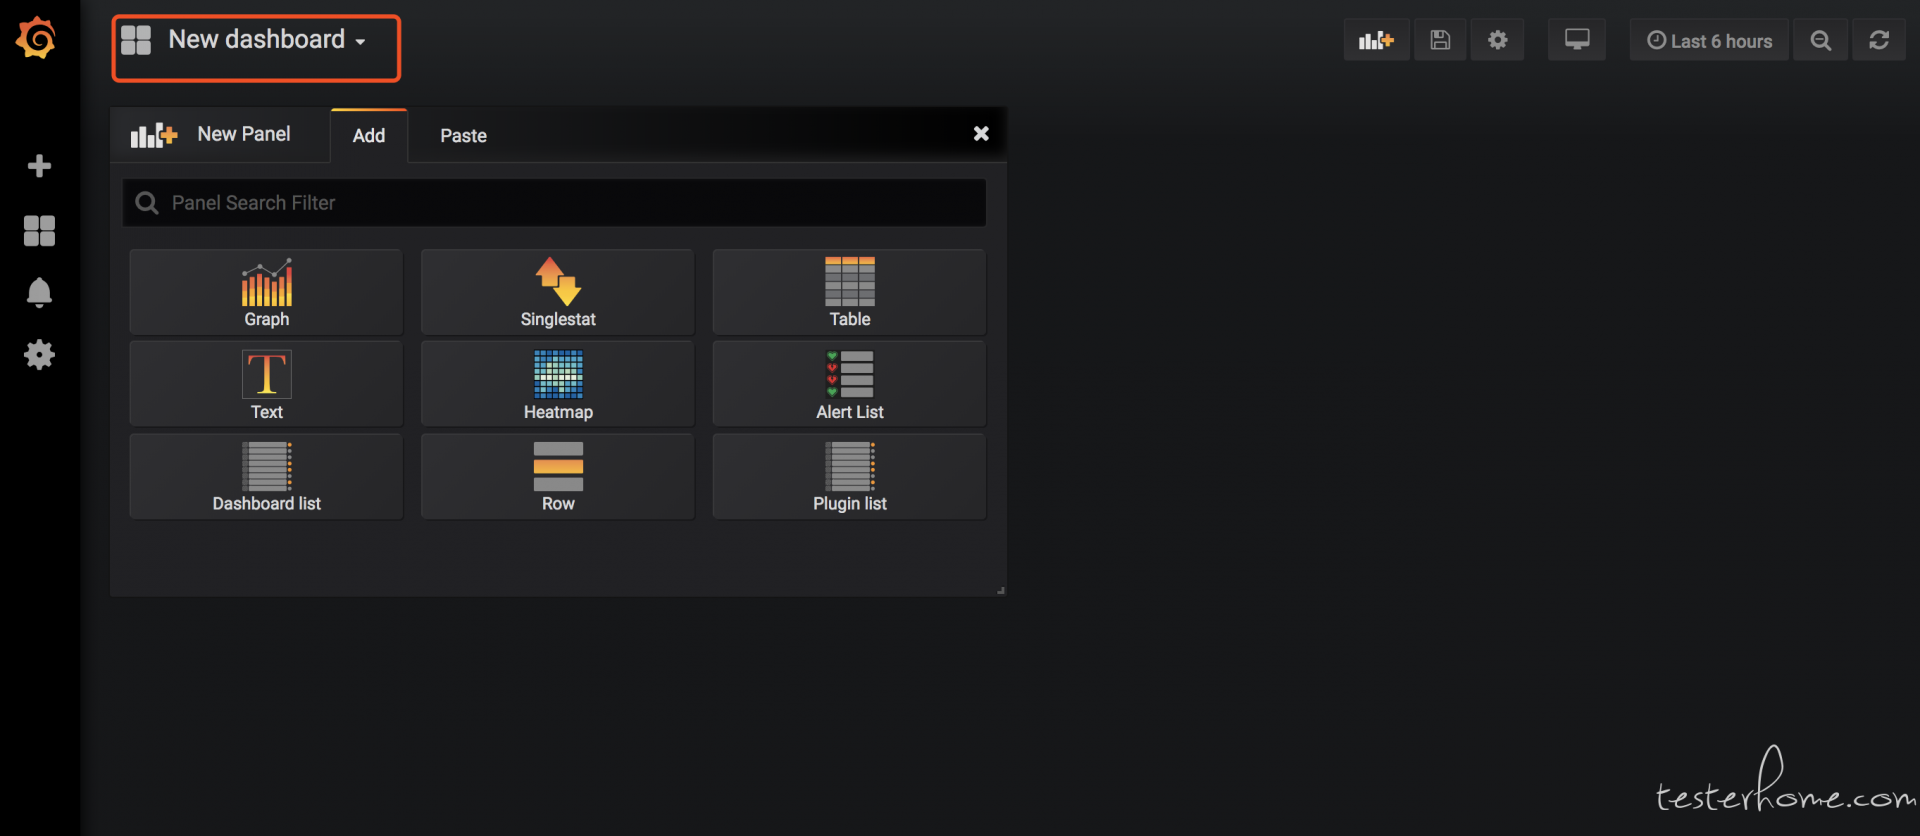
添加 dashboard
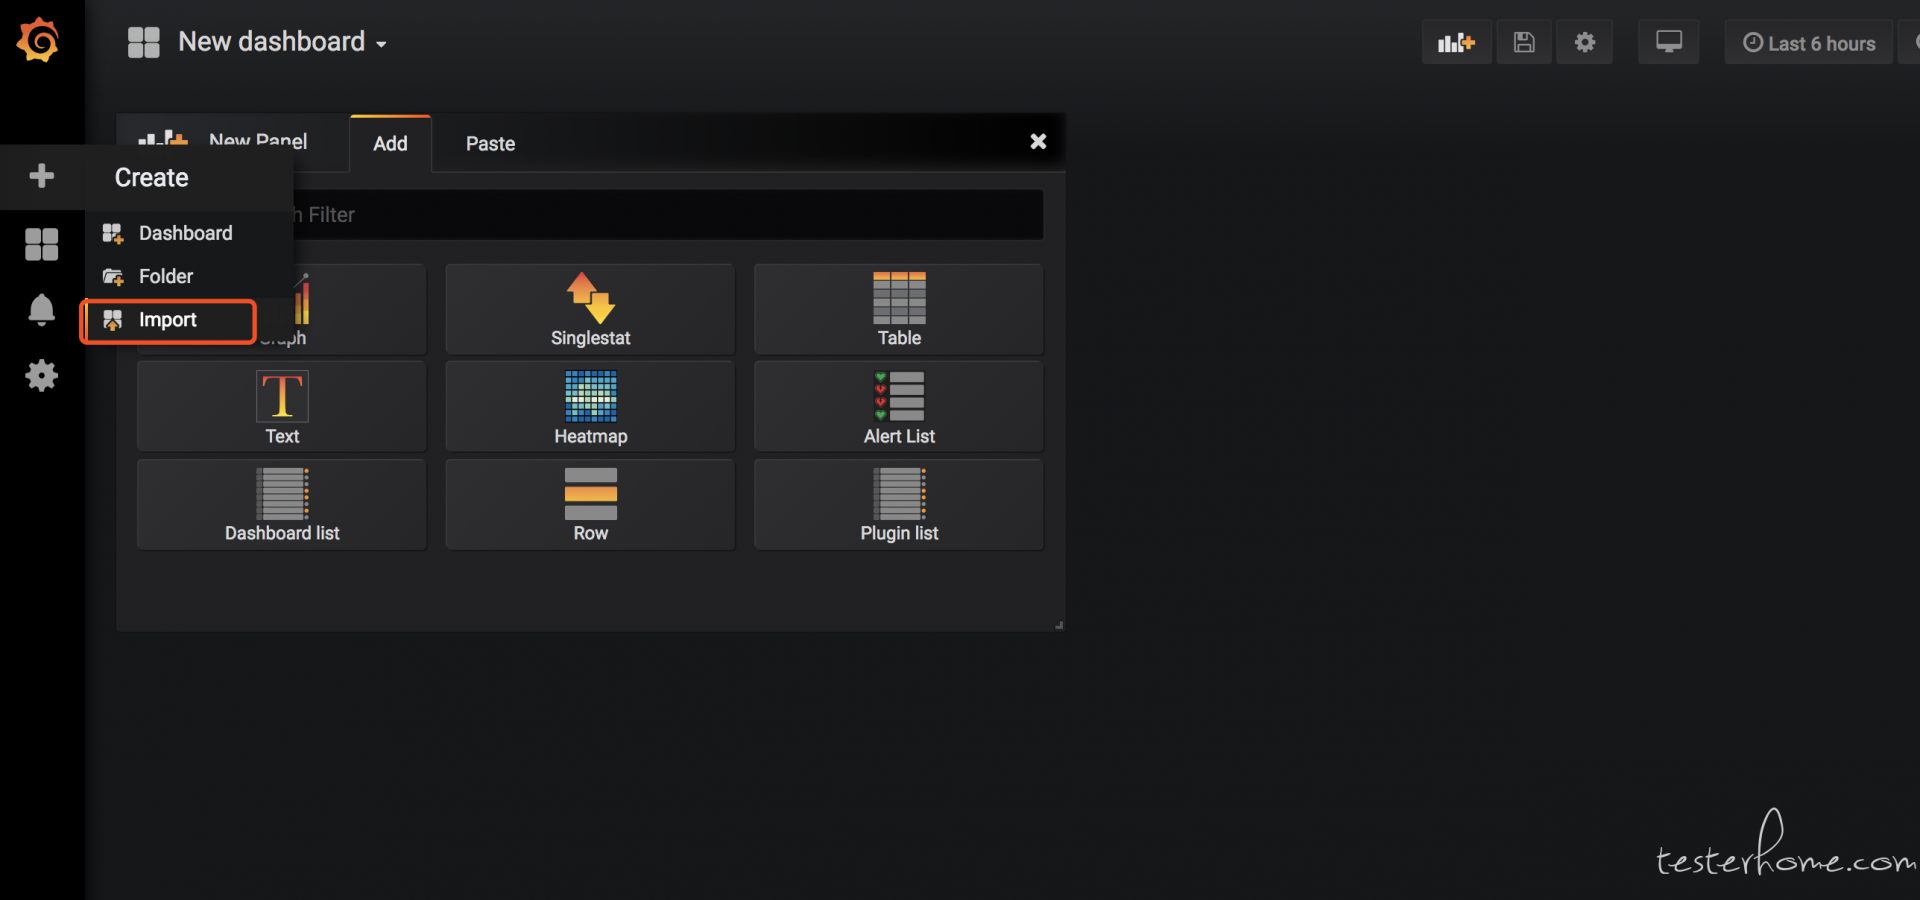
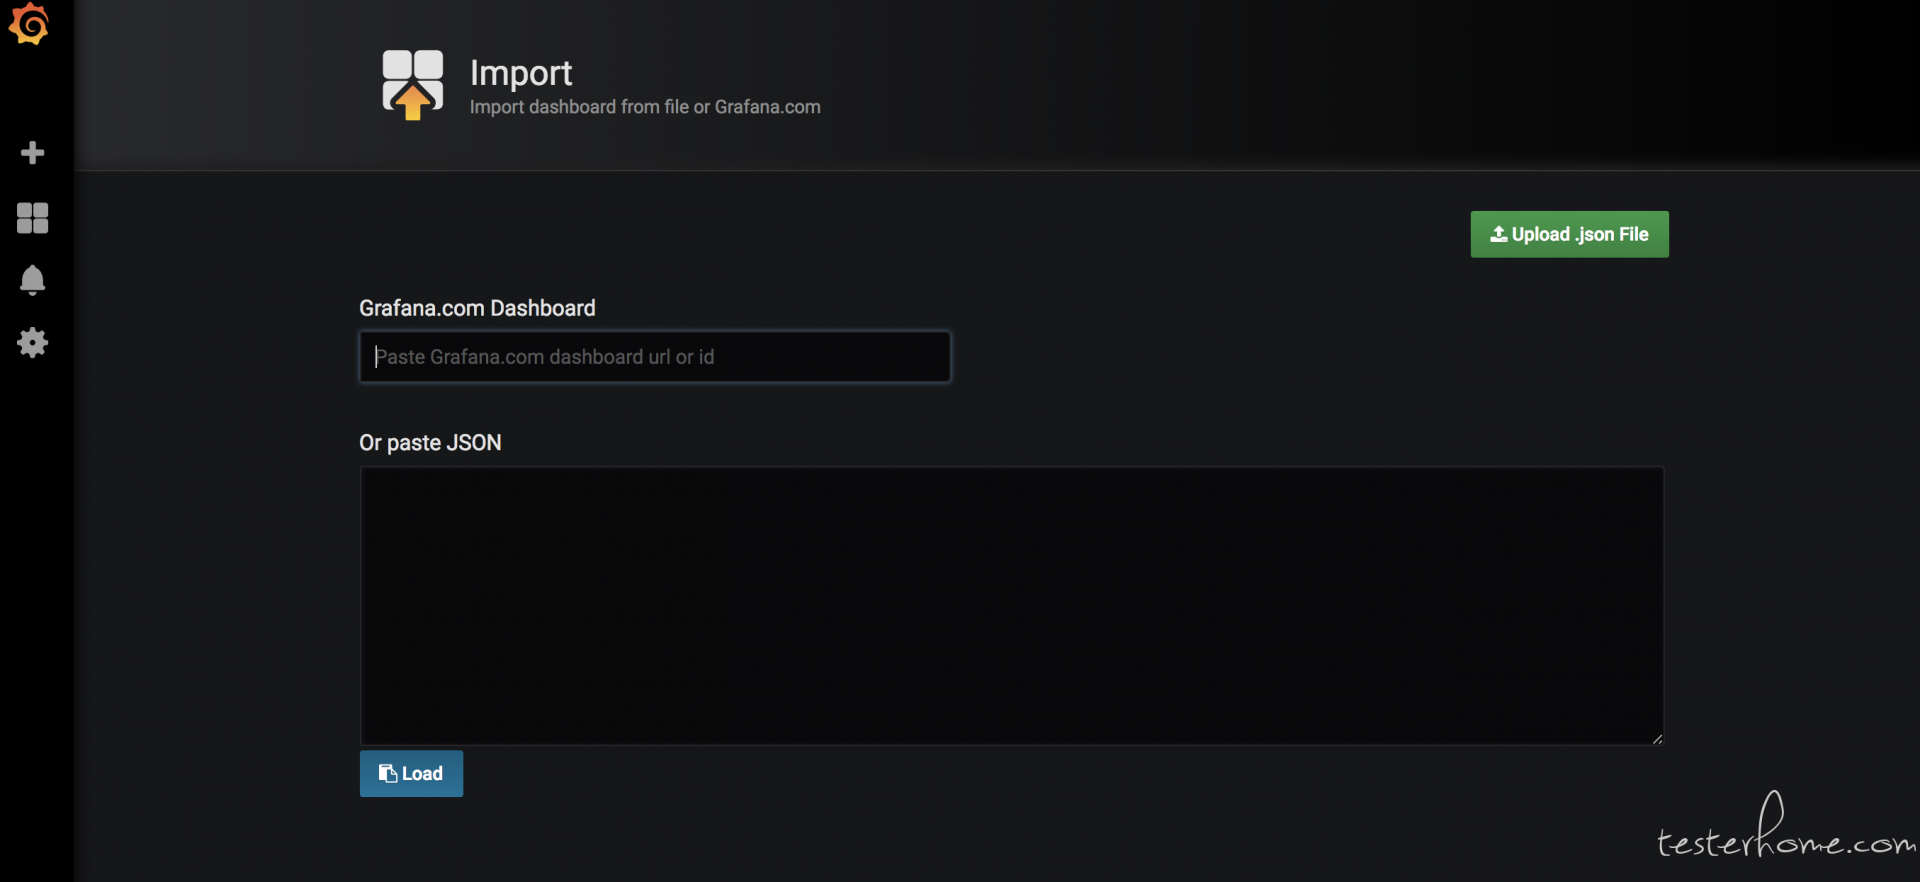
这里可以添加现成的模板:选择 Import dashboard
官网模板库地址:https://grafana.com/dashboards?dataSource=influxdb 如 jmeter 官方模板:copy id
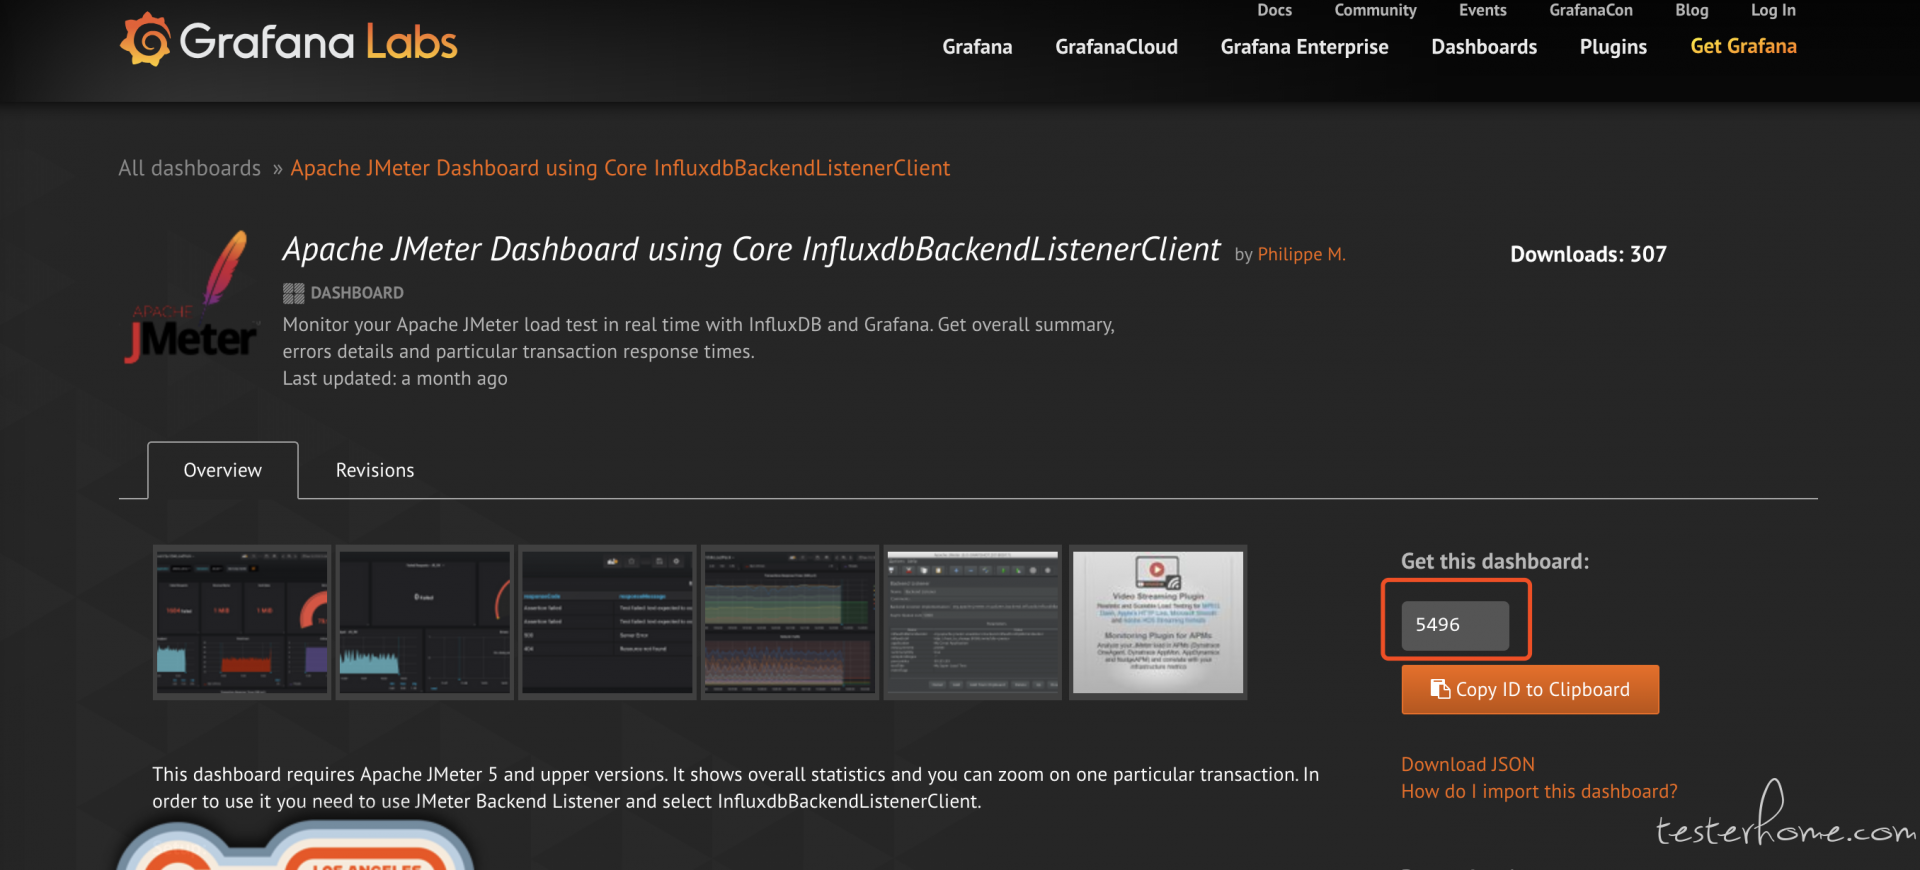
在 Import 添加搜到的模板 id(还有一个和官网模板差不多的 模板 ID 是:4026 可参考下)
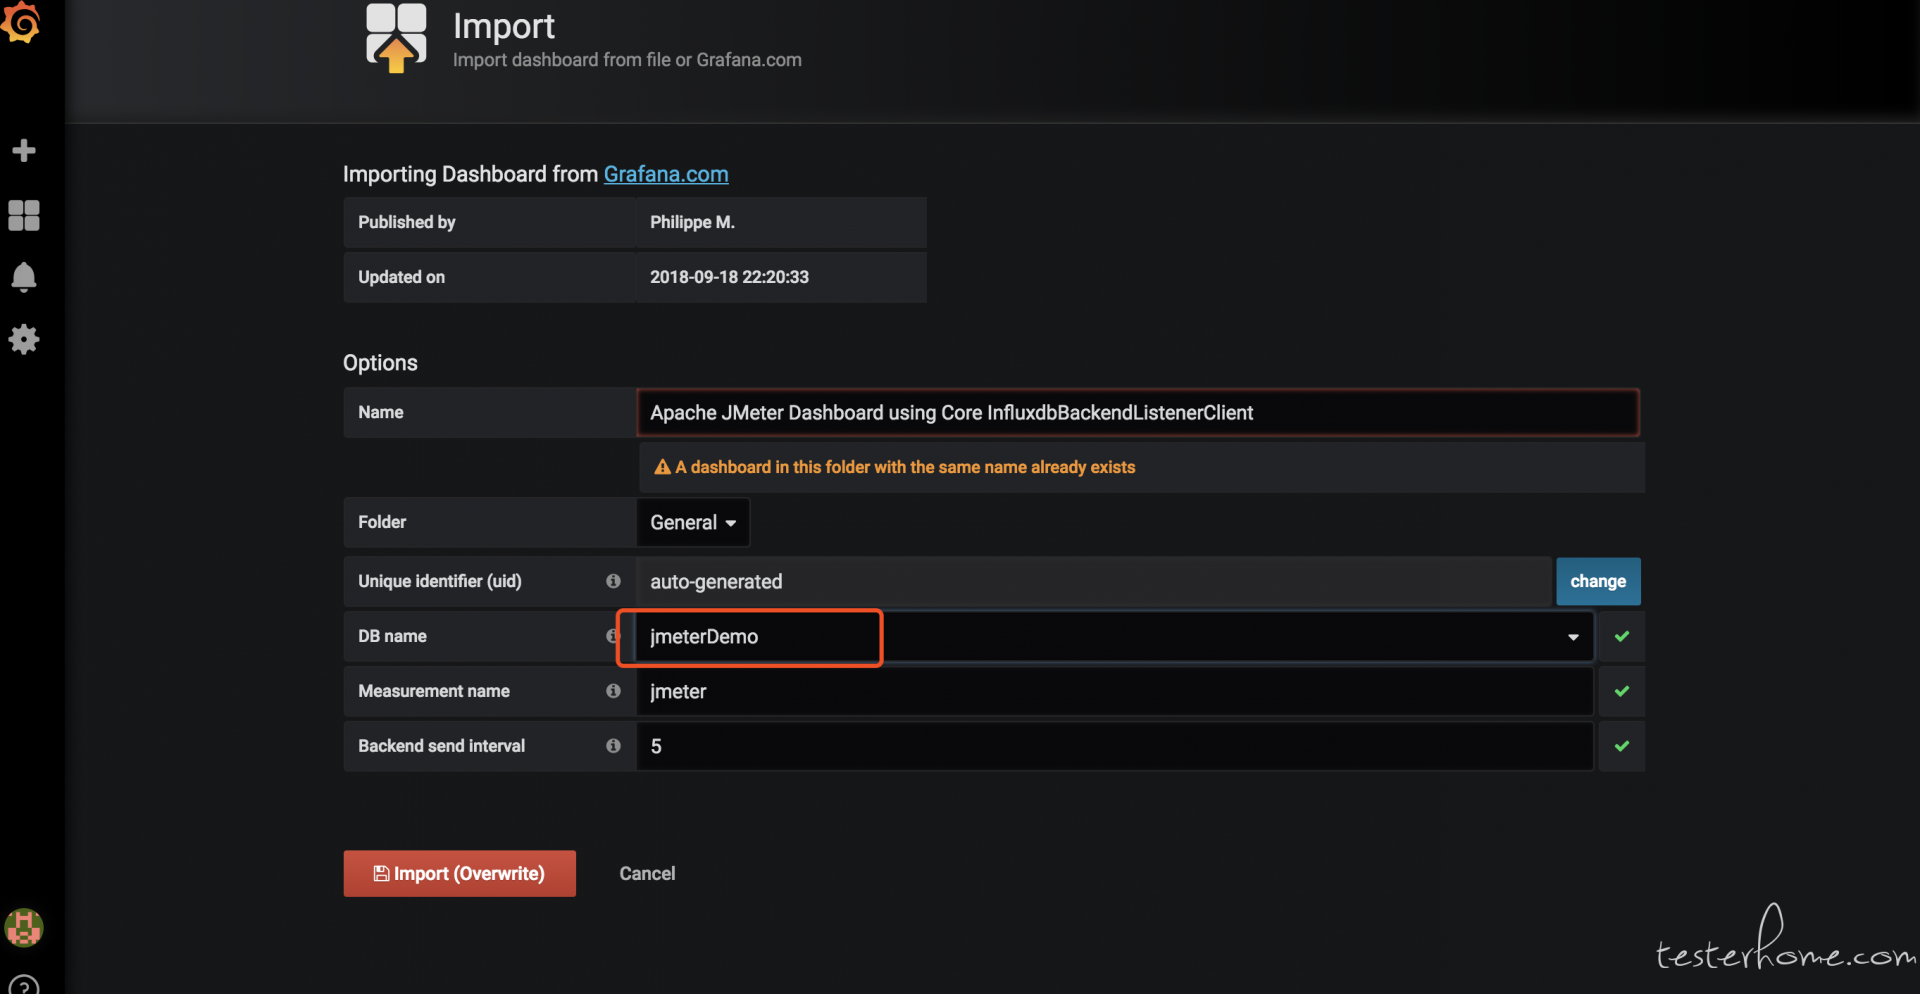
选择建好的 data source
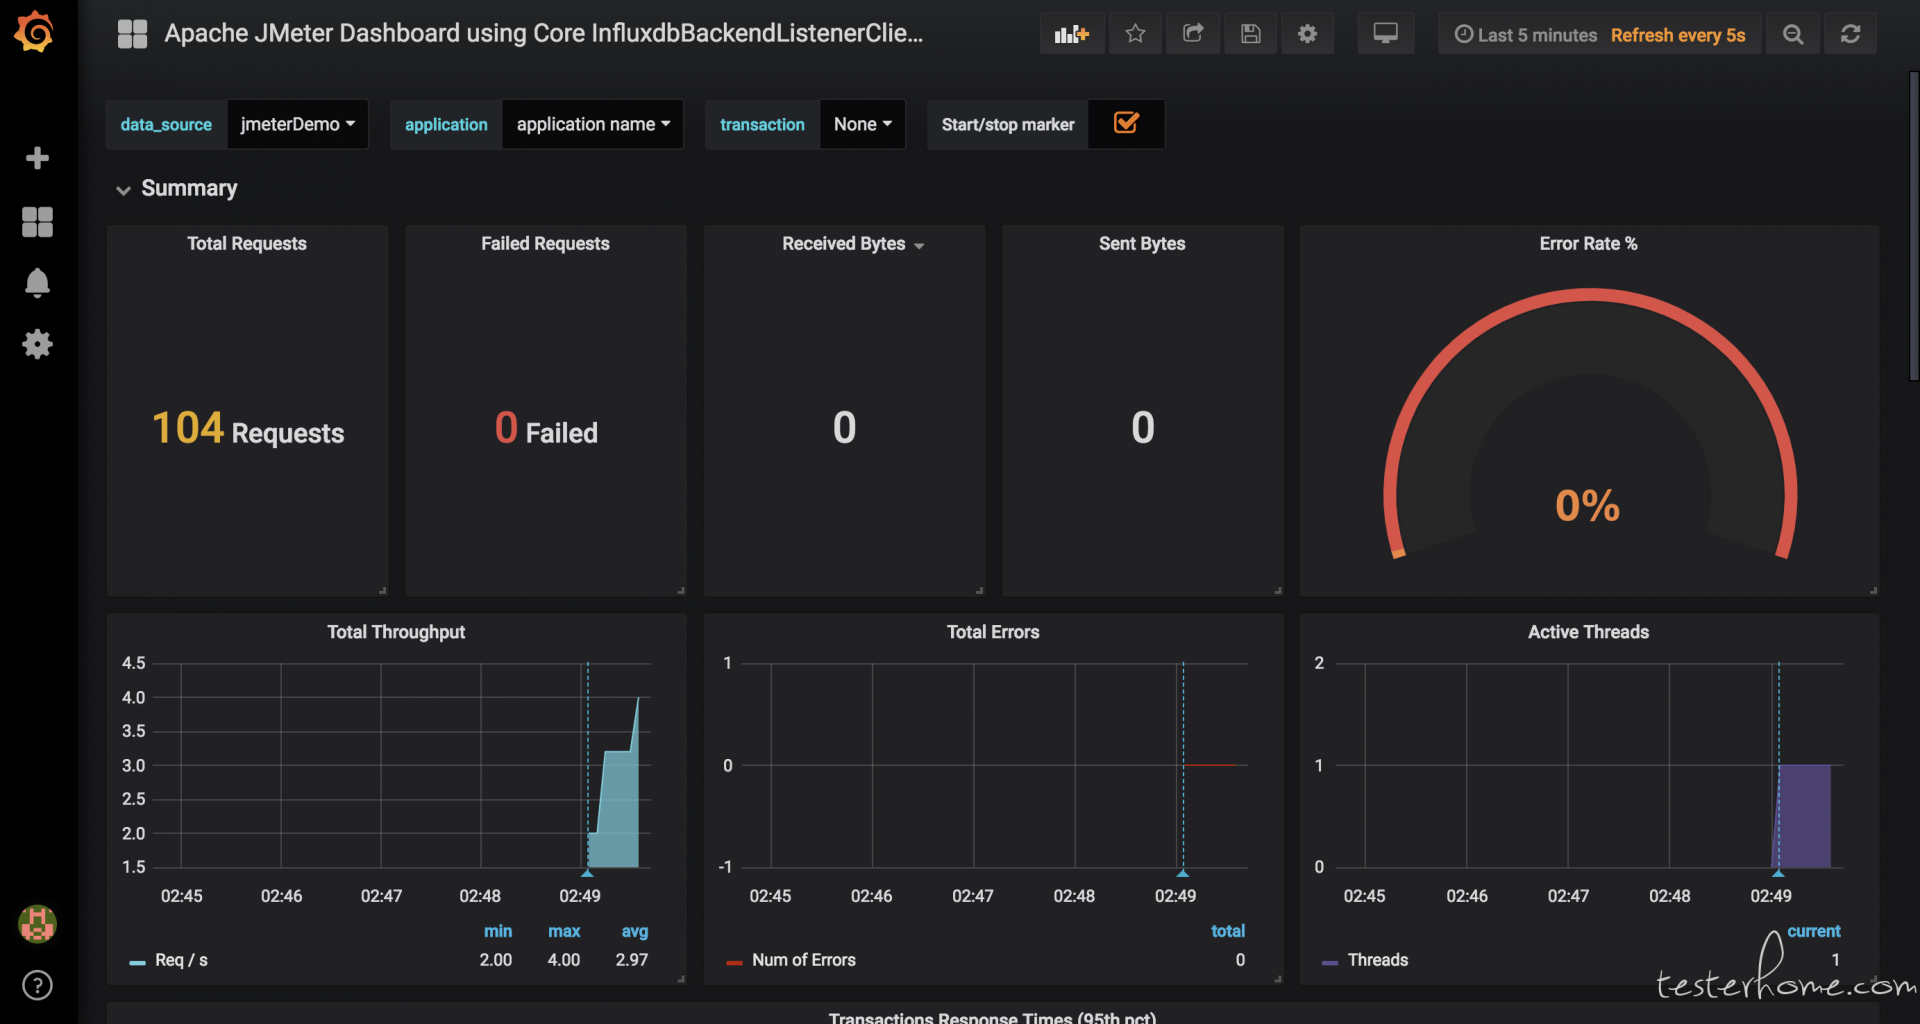
添加完成后就会出现了以下界面了
