白盒测试 测试平台从搭建到放弃 (二) 注册功能
功能点
- 数据库读写加入了 mybatis 自动生成映射 xml 和实体类 map 类
- 加入注册功能,注册样式采用 HttpRunnerManger 的页面,有轮子就不造轮子了 - HttpRunnerManger 原文地址
功能实现
数据库 mybatis
a. 导入相关 maven
<dependency>
     <groupId>org.mybatis.spring.boot</groupId>
     <artifactId>mybatis-spring-boot-starter</artifactId>
     <version>1.2.0</version>
 </dependency>
b. maven 加入自动 build 参数
<plugin>
               <groupId>org.mybatis.generator</groupId>
               <artifactId>mybatis-generator-maven-plugin</artifactId>
               <version>1.3.5</version>
               <!-- 数据库驱动  -->
               <dependencies>
                   <dependency>
                       <groupId>mysql</groupId>
                       <artifactId>mysql-connector-java</artifactId>
                       <version>${mysql.version}</version>
                   </dependency>
               </dependencies>
               <!-- 自动生成 -->
               <executions>
                   <execution>
                       <id>Generate MyBatis Artifacts</id>
                       <goals>
                           <goal>generate</goal>
                       </goals>
                       <configuration>
                           <!-- 指定文件位置好像不起作用,始终默认读取src/main/resources/generatorConfig.xml文件 -->
                           <configurationFile>src/main/resources/generatorConfig.xml</configurationFile>
                           <!--允许移动生成的文件-->
                           <verbose>true</verbose>
                           <!--允许覆盖生成的文件-->
                           <overwrite>true</overwrite>
                       </configuration>
                   </execution>
               </executions>
           </plugin>
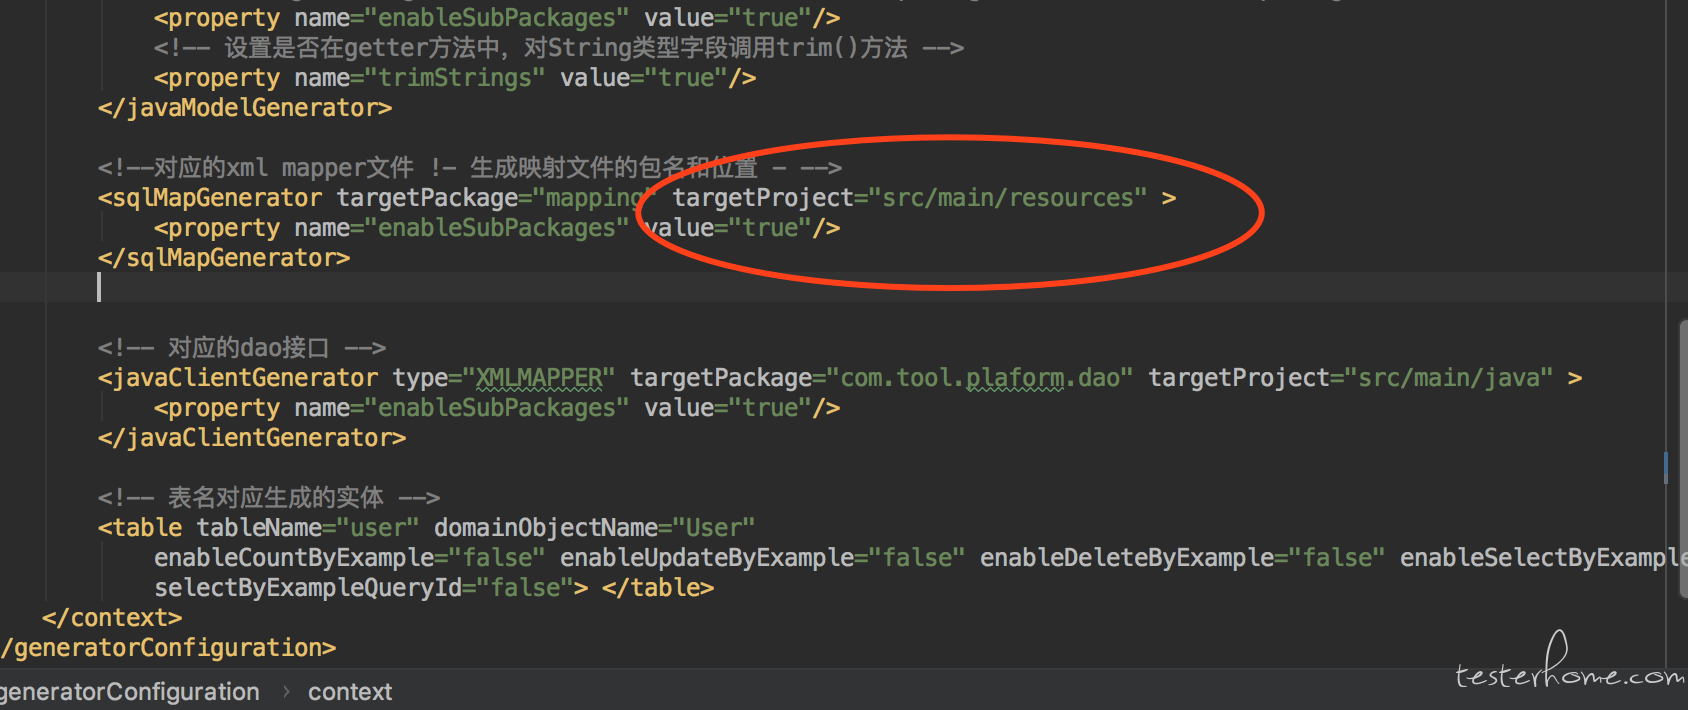
c. generatorconfig 文件里对应的 xml mapper 文件必须指明在 resources 文件夹下面
d.spring boot 的 application.properties 写明以下属性
spring.datasource.url=jdbc:mysql://localhost:3306/plaform?useUnicode=true&characterEncoding=utf-8&allowMultiQueries=true
spring.datasource.username=root
spring.datasource.password=123456
spring.datasource.driver-class-name=com.mysql.jdbc.Driver

mybatis.mapperLocations=classpath*:/mapping/**/*.xml
mybatis.typeAliasesPackage=com.tool.plaform.entity
以上操作完成了 mybatis 的环境操作
关于注册页
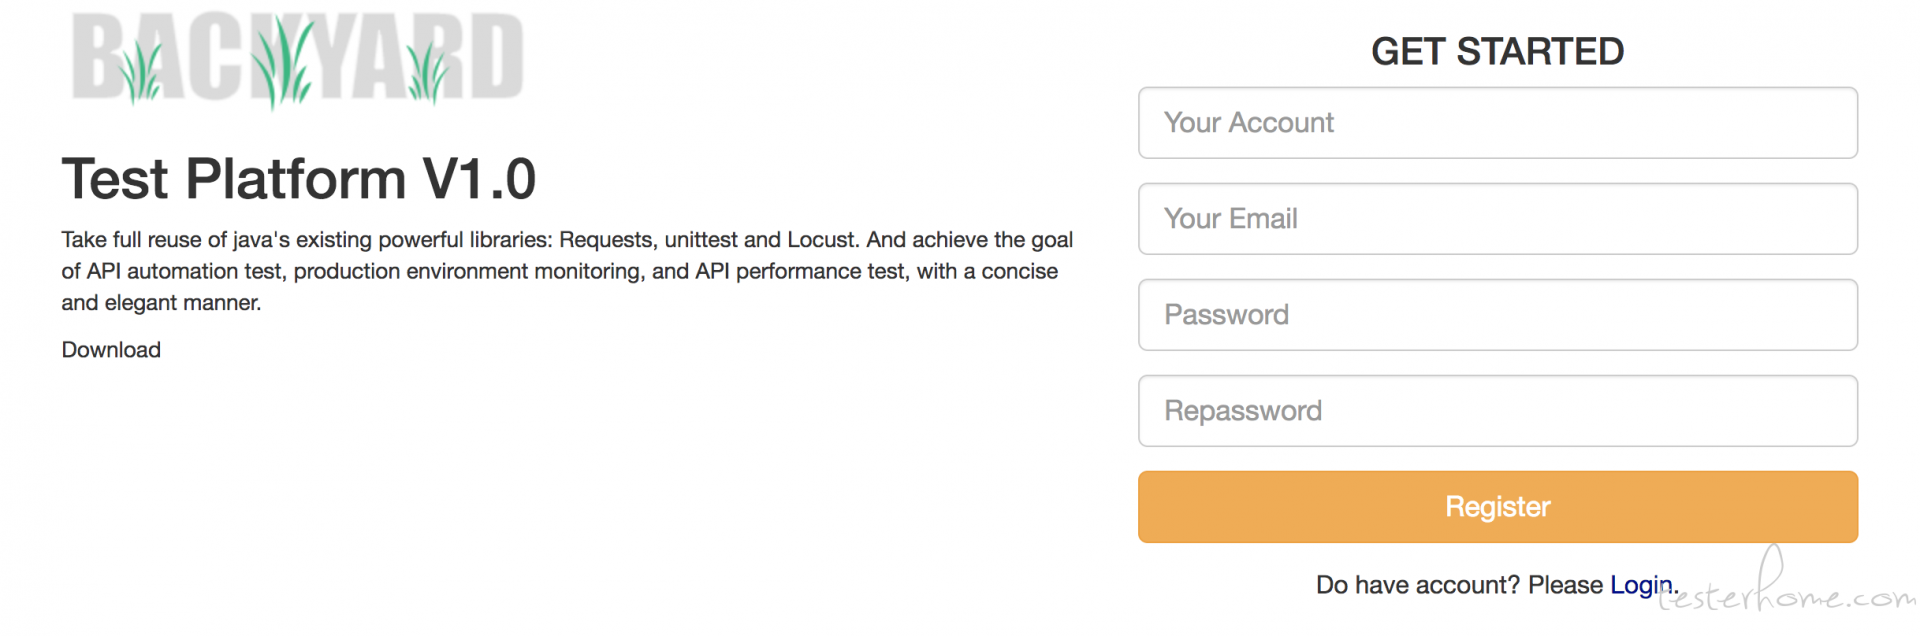
是不是觉得眼熟,没错 copy HttpRunnerManger 项目的
修改了 ajax 部分,没有采用序列化的方式传递参数,主要是因为我没有解决他远代码的报错,数据前台不校验,通过后台校验
/*表单信息异步传输*/
 function register_ajax(id) {
         var url;
         if (id == "#register_form") {
             url = '/user/save';
         }
         var data  = {};
         data.name = $('input[name=account]').val();
         data.email = $('input[name=email]').val();
         data.password = $('input[name=password]').val();
         $.ajax({
             type: 'post',
             url: url,
             data: JSON.stringify(data),
             contentType: "application/json",
             success: function (data) {
                 if(data.success){
                     window.location.href = '/';
                 }else {
                     alert(data);
                 }
             },
             error: function () {
                 alert('Sorry,服务器可能开小差啦, 请重试!')
             }
         });
关于注册接口
impl 类为方法主要实现类,很多方法还没有写完
@Service
public class UserServiceImpl implements UserService {

    /**
     *
     */
    @Autowired
    UserMapper userMapper;

    @Override
    public int insert(User user) {
        if (user.getName().isEmpty()||user.getName().equals(""))
        {
            throw new IllegalArgumentException("登录名称不能为空");
        }
        if (user.getPassword().isEmpty()||user.getPassword().equals(""))
        {
            throw new IllegalArgumentException("用户密码不能为空");
        }

        return userMapper.insert(user);
    }

    @Override
    public int updateUser(User user) {
        return 0;
    }

    @Override
    public User queryUserById(int id) {
        return null;
    }

    @Override
    public User login(UserQuery userQuery) {
        return null;
    }
}
接口类实现如下
@RestController
@RequestMapping("/user")
public class UserController {

    /**
     *
     */
    @Autowired
    UserService userService;

    @RequestMapping(value = "/save",method = RequestMethod.POST)
    public ApiResult<User> saveUser(@RequestBody User user){

        userService.insert(user);
        return ApiResult.success(user);
    }
}
注册成功
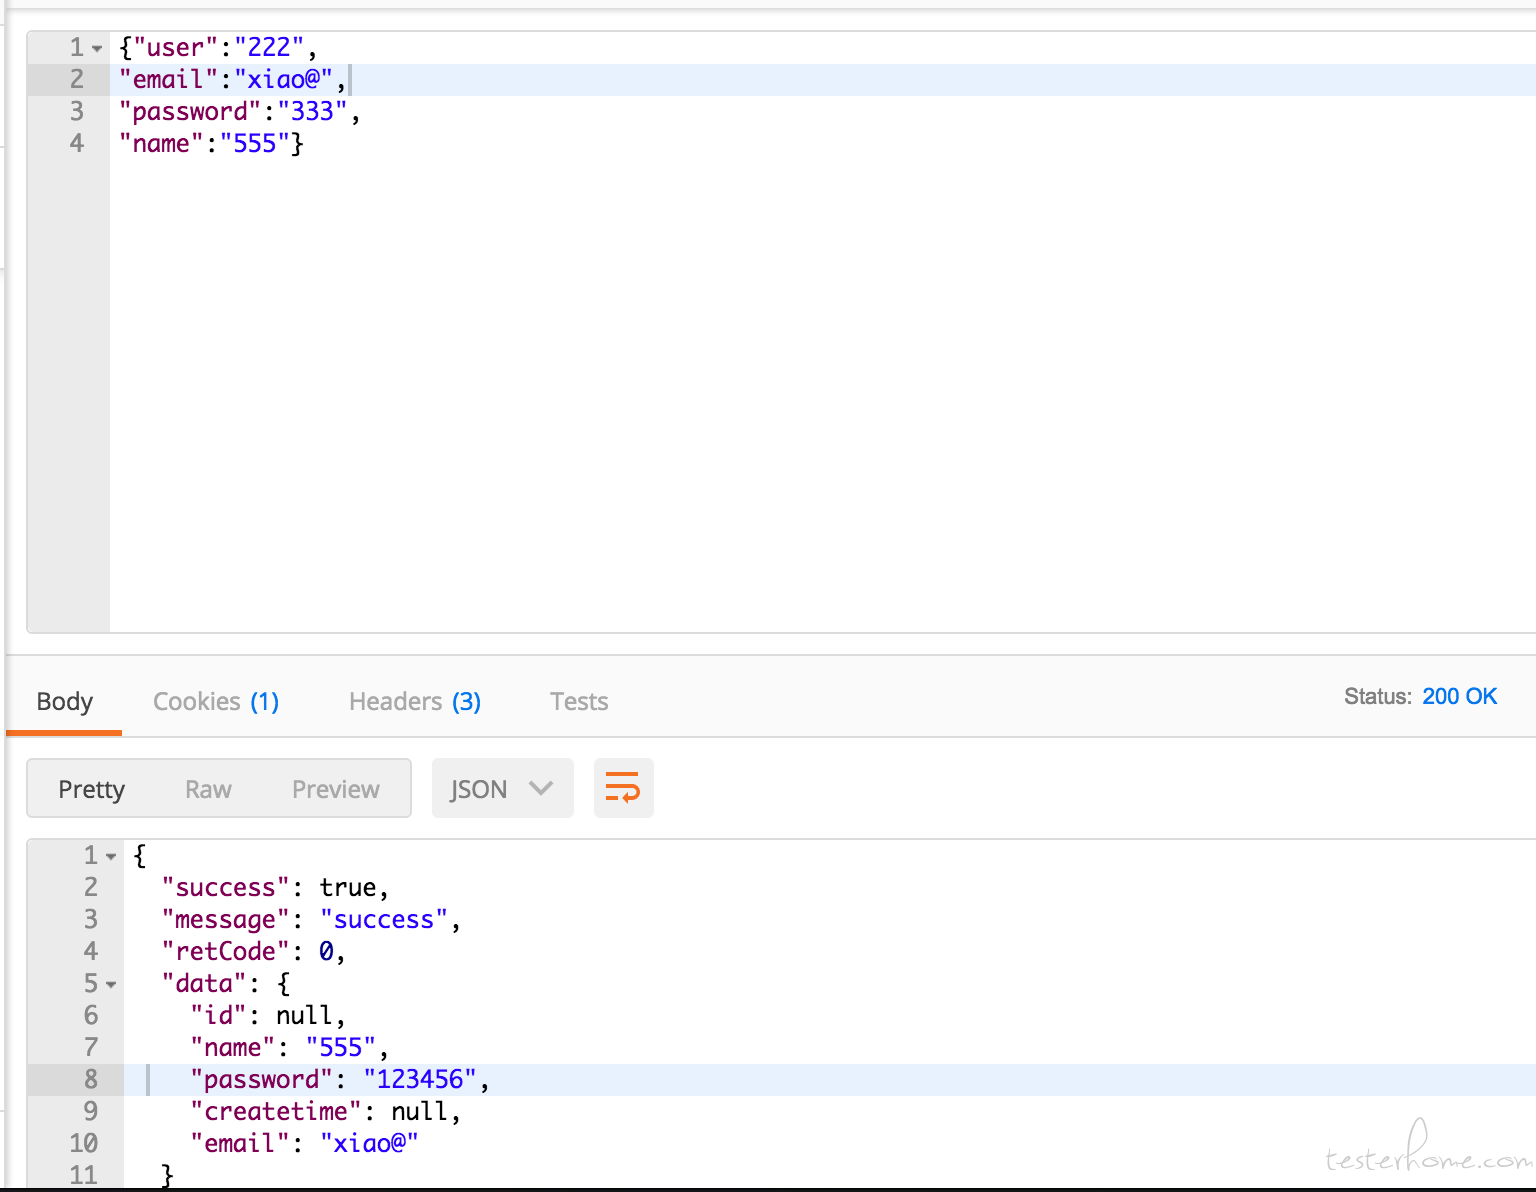
是不是很简单
「原创声明:保留所有权利,禁止转载」