准备工作完成后,就是用例的规划了。我准备按照这个思路来:
- 先梳理出基础的业务流程,找到相关接口,先写这些接口的用例,写完再根据业务流程做接口组合测试。 接口主要分为两类:WEB 页面调用后端的接口,提供给第三方的业务接口。 提供给第三方的业务接口,之前已经用 RF 写过了,并且集成到了 jenkins。 这次主要就是处理 WEB 页面调用后端的接口,从鉴权的角度,这类接口分成 2 小类,需要鉴权 or NOT。 因为只有我一个人,所以肯定是优先冒烟测试先完成。 整体的鉴权相关设计思路:
- 登录接口不要鉴权,该接口返回的 token 是除去它以外全部接口所必须的。所以用户就弄两个,一个用来测试登录,一个作为预置的测试账户,作为全局 token 获取用户。
- 获取 token 放在 tests 目录下的 conftest.py 中,结果存到 redis 中失效时间用 token 的有效期。存之前先看能不能取出来,能取到就跳过登录获取 token,直接返回取到的 token。
#!/usr/bin/env python
# -*- coding: utf-8 -*-
# @Author  : 小橙子的爸比 (279453094@qq.com)
# @Version        : 1.0
# @Update Time    : 2025/1/4 下午7:44
# @File           : conftest.py
# @IDE            : PyCharm
# @Desc           : 文件描述信息
import json
import httpx
from jsonpath import jsonpath
from db.database_factory import DatabaseFactory
from utils.nb_logger import httpx_log
from utils.nb_logger import pytest_log
import pytest
from config.env_config import EnvInfo, ApiUri


def pytest_runtest_makereport(item, call):
    """钩子函数收集失败的断言信息存入日志文件"""
    if call.excinfo is not None:
        msg = {
            "module": item.location[0],
            "function": item.name,
            "line": item.location[1],
            "message": str(call.excinfo.value).replace("\n", ":")
        }
        pytest_log.error(json.dumps(msg, indent=4, ensure_ascii=False))


headers = EnvInfo().stitching_headers()


@pytest.fixture(scope="session", autouse=True)
def get_token(uri: str = ApiUri.LOGIN_URI, username: str = EnvInfo.USER_NAME,
              password: str = EnvInfo.PASS_WORD):
    """负责全局token预置,存入redis,有效期一周"""
    data = {
        "username": username,
        "password": password,
        "captchaKey": "b8cb0ef9-57d0-44d9-af53-aad6d5d00183",
        "captcha": "1"
    }
    url = EnvInfo().stitching_url(uri)
    with httpx.Client() as client:
        response = client.post(url=url, headers=headers, json=data)
        httpx_log.info(f"session级fixture POST请求(预置全局token):{url}")
        httpx_log.info(f"POST请求头消息:{headers}")
        httpx_log.info(f"POST请求参数:{data}")
        httpx_log.info(f"POST响应参数:{response.text}")
        if response.status_code != 200:
            raise httpx.HTTPError(f"状态码异常,预期值200,实际返回{response.status_code}")
        token = jsonpath(response.json(), '$.idToken')
        rds = DatabaseFactory().get_db_instance("redis").db_getter()
        redis_key = EnvInfo.USER_NAME + "-" + EnvInfo.TEST_ENV_TAG + "-" + EnvInfo.REDIS_STORE_TOKEN_KEY
        rds.set(redis_key, token[0], ex=86400)
    return response
考虑到后期的维护,尽量不用硬编码,能存到配置文件的全存进去。
这个写完登录测试用例跟着改改就行了,需要说明的就是冒烟用例跟异常用例只是驱动数据不同,我决定使用 yam 文件来存储测试数据,一个文件就能搞定。
非鉴权接口就这么一个,就不去封装了。
鉴权 token 在头消息里,全局的前置脚本只是保障 redis 中的 token 存在
封装的 httpx 请求,会去 redis 里取 token,并塞进头消息里,这个放到下一个需要鉴权的接口再看具体的实例。
先看看这个接口测试用例:
#!/usr/bin/env python
# -*- coding: utf-8 -*-
# @Author  : 小橙子的爸比 (279453094@qq.com)
# @Version        : 1.0
# @Update Time    : 2025/1/3 下午5:55
# @File           : test_login.py
# @IDE            : PyCharm
# @Desc           : 文件描述信息
import os
import pytest
from utils.nb_logger import pytest_log as log
import allure
from project_config import settings as config
from utils.tools import YamlTool
import httpx
from config.env_config import EnvInfo, ApiUri, TestDataYamlFileName
from jsonpath import jsonpath

headers = EnvInfo().stitching_headers()


def api_login(url: str, username: str, password: str):
    data = {
        "username": username,
        "password": password,
        "captchaKey": "b8cb0ef9-57d0-44d9-af53-aad6d5d00183",
        "captcha": "1"
    }
    with httpx.Client() as client:
        response = client.post(url=url, headers=headers, json=data)
        log.info(f"smarthub登录请求返回数据:{response.json()}")
    return response


yml = YamlTool(str(os.path.join(config.system.DATA_PATH, TestDataYamlFileName.LOGIN_YML)))
datas = yml.read_yaml()


@allure.feature("SMARTHUB接口测试")
@allure.story("登录接口测试")
@allure.testcase("正确的用户名密码可以获取token")
@pytest.mark.smock
@user18ize("user_info", datas['user_info'])
def test_login(user_info):
    username = user_info['username']
    password = user_info['password']
    title = user_info['title']
    # 动态标题
    allure.dynamic.title(title)
    url = EnvInfo().stitching_url(ApiUri.LOGIN_URI)
    resp = api_login(url, username, password)
    assert resp.status_code == 200
    # 使用jsonpath获取返回值中的指定内容
    token = jsonpath(resp.json(), '$.idToken')
    assert token is not None


@allure.feature("SMARTHUB接口测试")
@allure.story("登录接口测试")
@allure.testcase("错误的用户名密码无法获取token")
@user22y
@user23ize("user_info_error", datas['user_info_error'])
def test_login_error(user_info_error):
    print(user_info_error)
    username = user_info_error['username']
    password = user_info_error['password']
    title = user_info_error['title']
    # 动态标题
    allure.dynamic.title(title)
    except_value = user_info_error['except_value']
    url = EnvInfo().stitching_url(ApiUri.LOGIN_URI)
    resp = api_login(url, username, password)
    # 使用jsonpath获取返回值中的指定内容
    title = jsonpath(resp.json(), '$.title')
    assert resp.status_code == 400
    assert except_value == title[0]


if __name__ == '__main__':
    pytest.main()
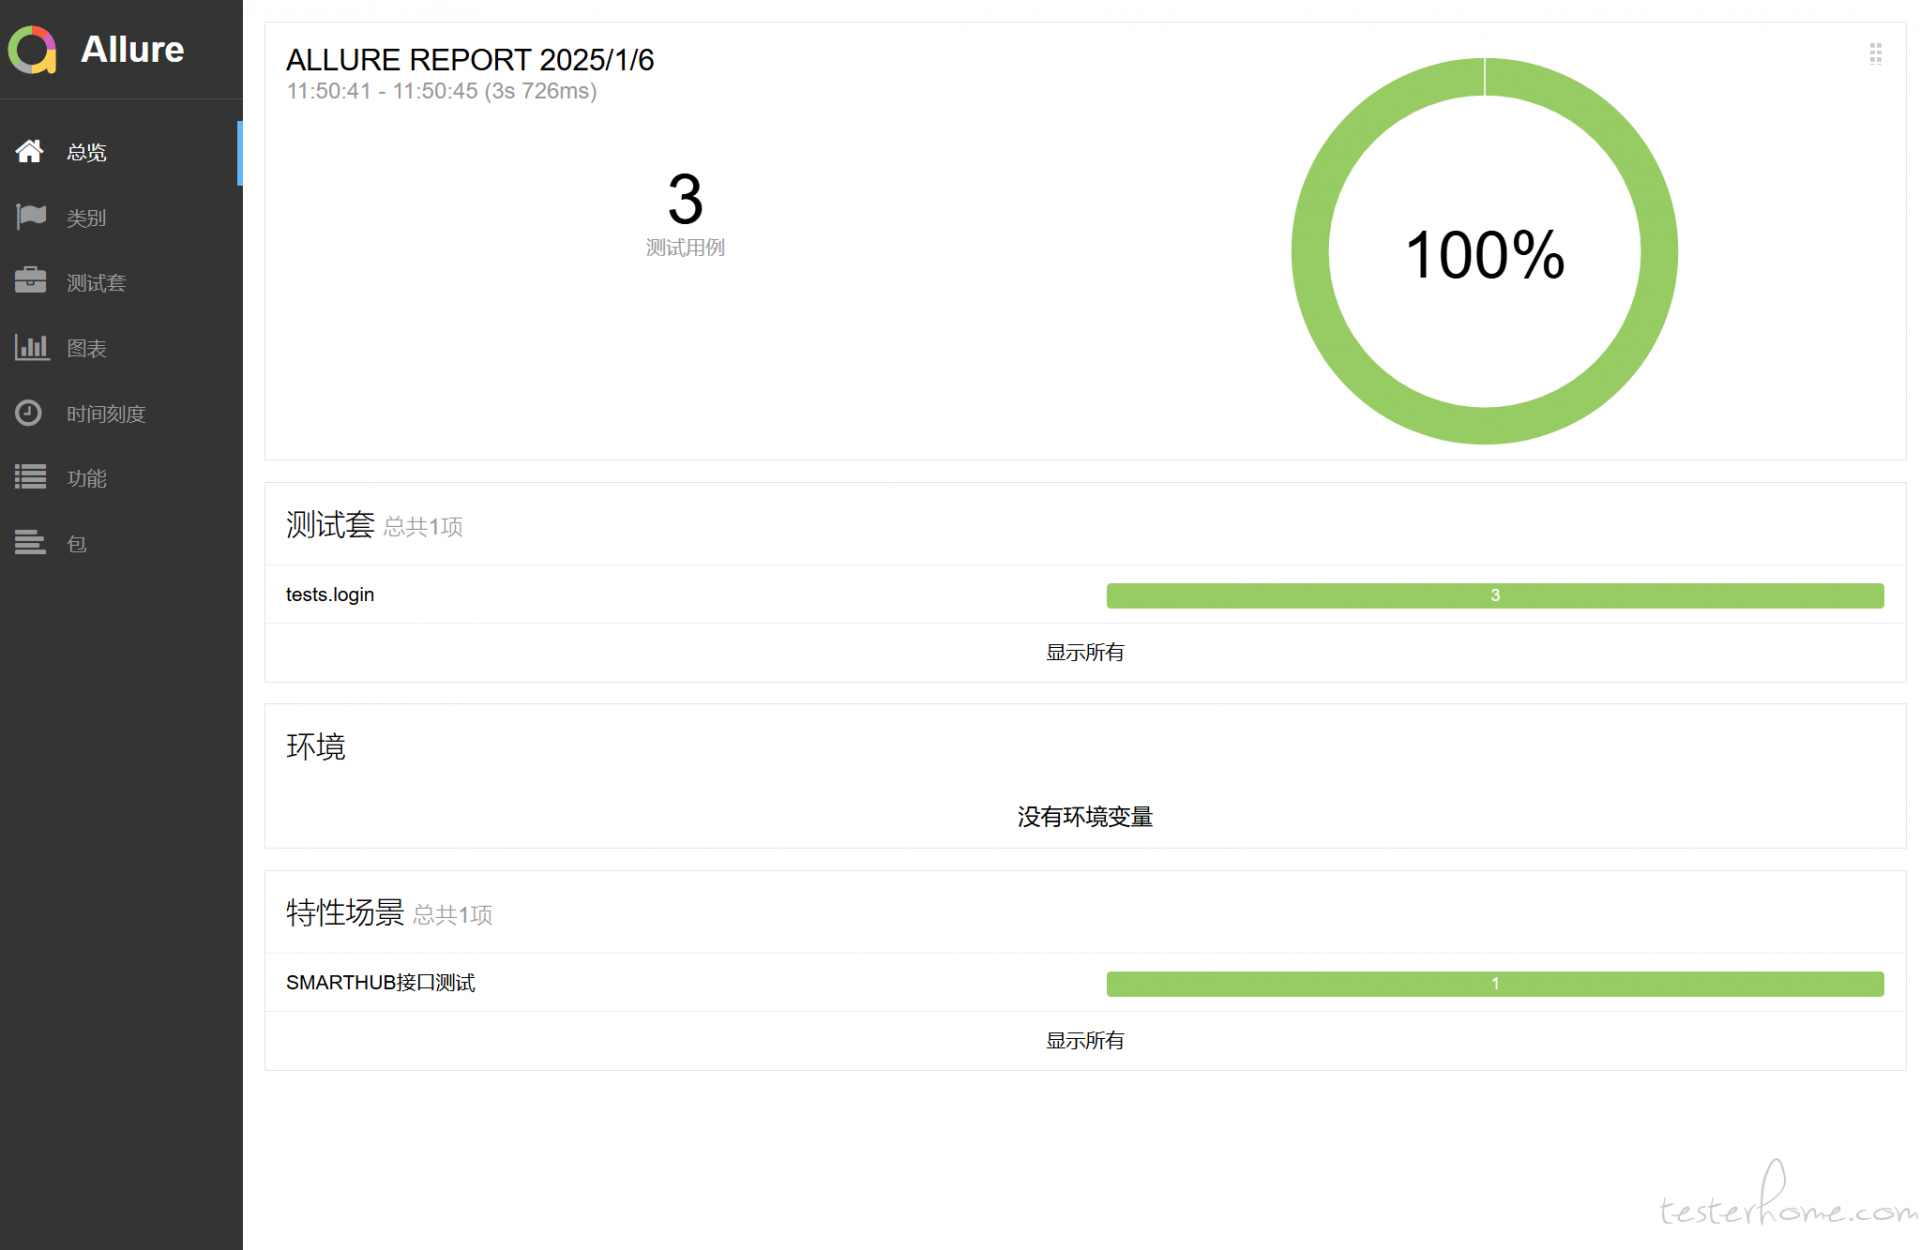
测试报告展示一下:


附赠一个 allure 的标记说明图

「原创声明:保留所有权利,禁止转载」
暂无回复。