从TensorFlow 学习记录 (一)中我们知道 MNIST 包括训练集、测试集和验证集,通过 MNIST 对象可以访问它们。
from TensorFlow import input_data

mnist = input_data.read_data_sets("MNIST_data/", one_hot=True)

# 访问MNIST训练集
print(mnist.train.images.shape)
print(mnist.train.labels.shape)
# 访问MNIST测试集
print(mnist.test.images.shape)
print(mnist.test.labels.shape)
# 访问MNIST验证集
print(mnist.validation.images.shape)
print(mnist.validation.labels.shape)
结果是:
(55000, 784)
(55000, 10)
(10000, 784)
(10000, 10)
(5000, 784)
(5000, 10)
可以看到与给定相同,训练集有 55000 张图片,测试集有 10000 张图片,验证集有 5000 张图片。image 有 784 节点,也就是 28*28 像素;label 有 10 个节点,也就是 0~9 十个数字。
from TensorFlow import input_data
import numpy as np
mnist = input_data.read_data_sets("MNIST_data/", one_hot=True)
# 设置输出结果保留精度为1位小数
np.set_printoptions(precision=1)
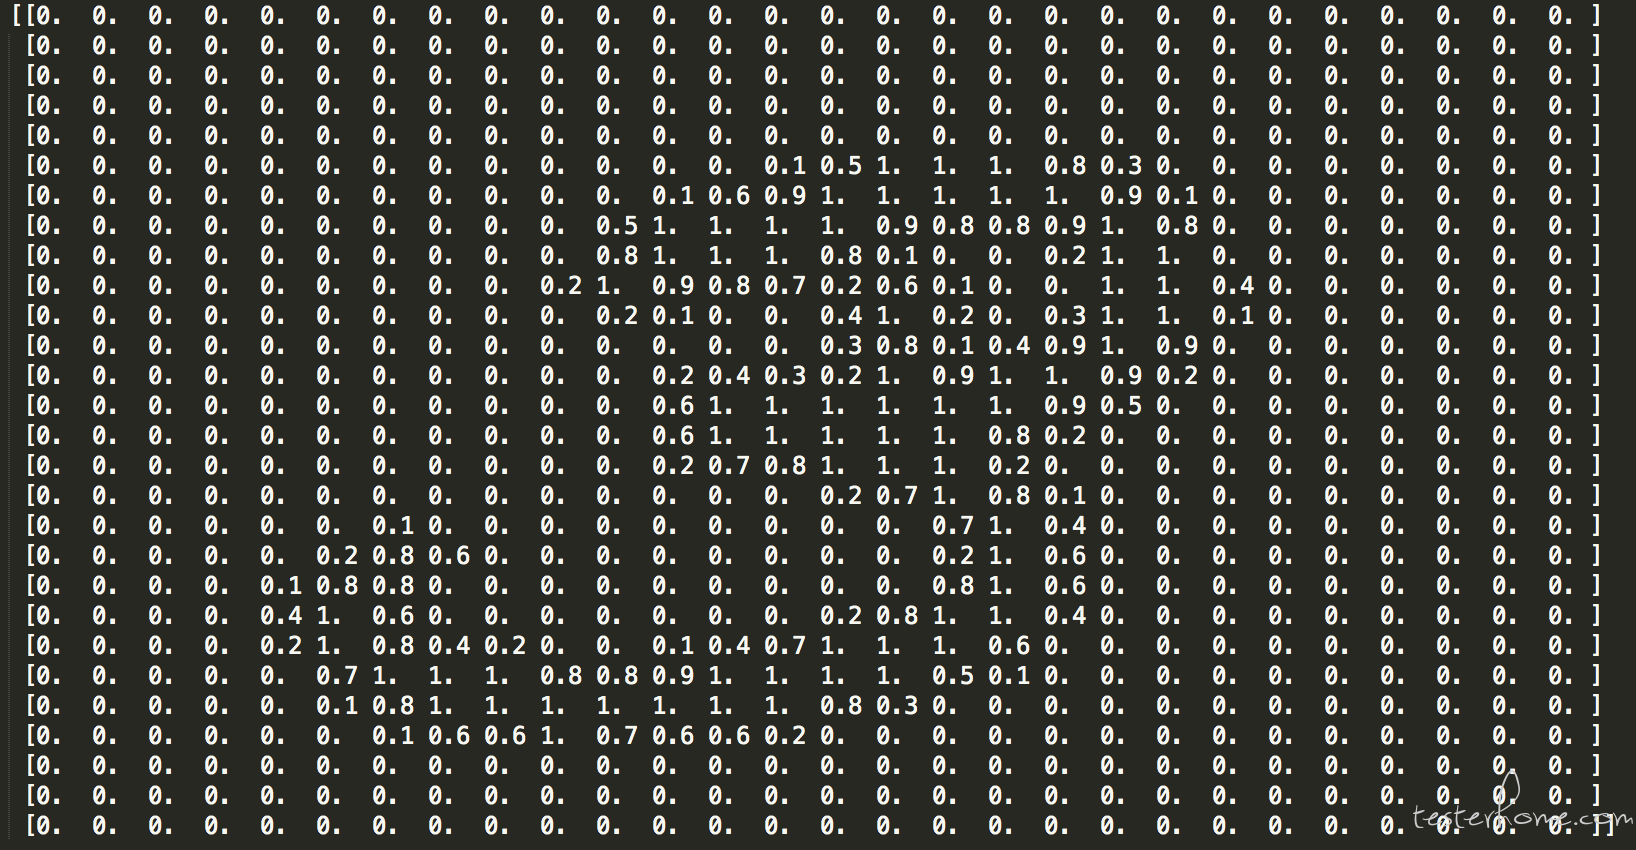
print(mnist.train.images[1, :].reshape(28, 28))
查看数组显示,为方便观看对概率的精度只保留了一位小数:
from TensorFlow import input_data
import matplotlib.pyplot as plt
mnist = input_data.read_data_sets("MNIST_data/", one_hot=True)
# 获取第二张图片
image = mnist.validation.images[1, :]
# 将图像数据还原成28*28的分辨率
image = image.reshape(28, 28)
# 打印对应的标签
print(mnist.validation.labels[1])
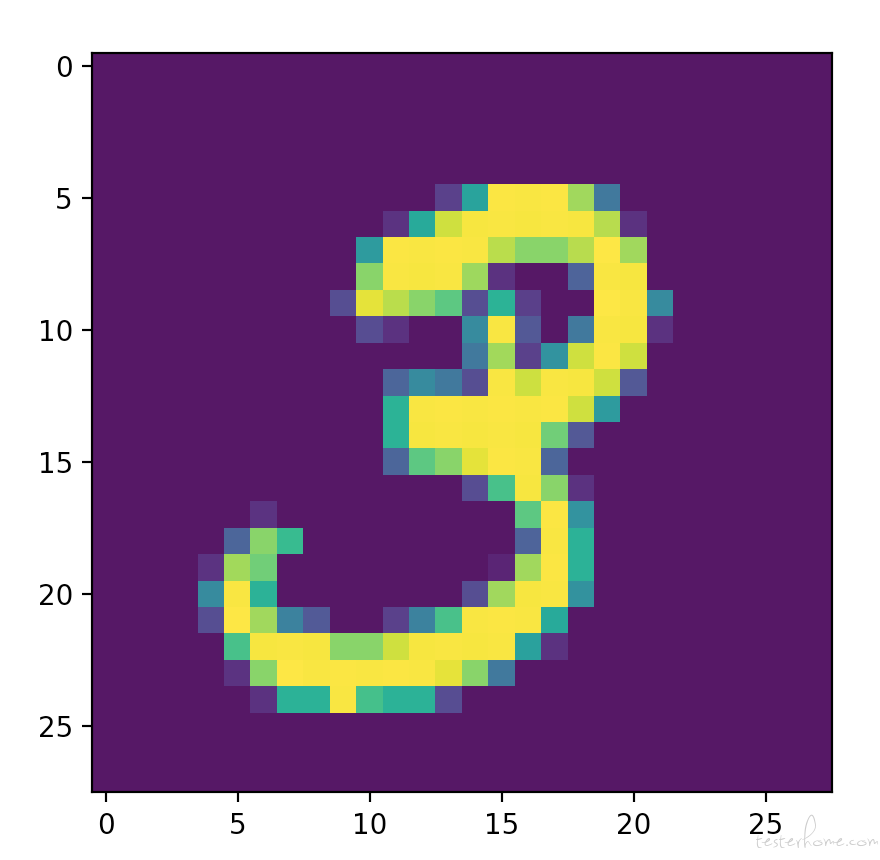
plt.figure()
plt.imshow(image)
plt.show()
使用 plt 库将 MNIST 数据集图片可视化,可以看到图片中显示数字为 3,标签为 [0. 0. 0. 1. 0. 0. 0. 0. 0. 0.],也为 3