E:\app>cd Vagrant

E:\app\Vagrant>vagrant plugin install vagrant-reload
Installing the 'vagrant-reload' plugin. This can take a few minutes...
Fetching vagrant-reload-0.0.1.gem
Installed the plugin 'vagrant-reload (0.0.1)'!
重命名修改为:metasploitable3-win2k8.box
mkdir metasploitable3-workspace
cd metasploitable3-workspace

PS E:\app\metasploitable3-workspace> vagrant box add rapid7/metasploitable3-win2k8 d:\exe\metasploitable3-win2k8.box
==> box: Box file was not detected as metadata. Adding it directly...
==> box: Adding box 'rapid7/metasploitable3-win2k8' (v0) for provider:
    box: Unpacking necessary files from: file:///d:/exe/metasploitable3-win2k8.box
    box:
==> box: Successfully added box 'rapid7/metasploitable3-win2k8' (v0) for 'virtualbox'!
PS E:\app\metasploitable3-workspace>
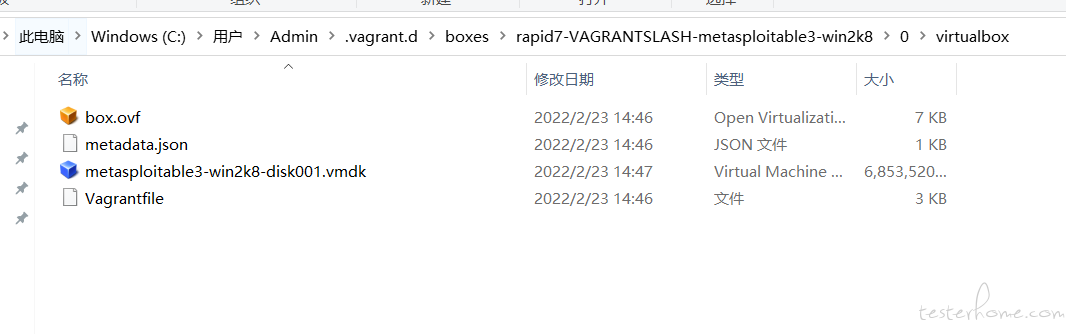
C:\Users\Admin\.vagrant.d\boxes\rapid7-VAGRANTSLASH-metasploitable3-win2k8\0\virtualbox\metadata.json到C:\Users\Admin\.vagrant.d\boxes\rapid7-VAGRANTSLASH-metasploitable3-win2k8目录下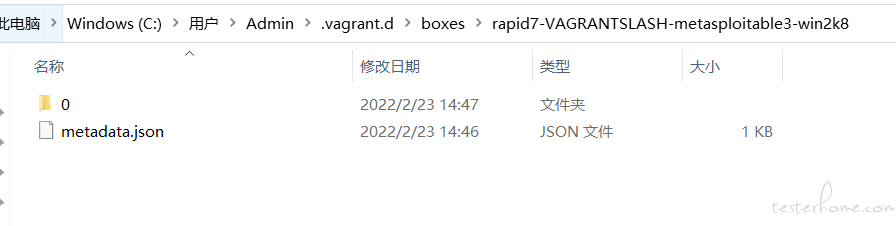
vagrant init rapid7/metasploitable3-win2k8:PS C:\Users\Admin\.vagrant.d\boxes\rapid7-VAGRANTSLASH-metasploitable3-win2k8\0\virtualbox> vagrant init rapid7/metasploitable3-win2k8
A `Vagrantfile` has been placed in this directory. You are now
ready to `vagrant up` your first virtual environment! Please read
the comments in the Vagrantfile as well as documentation on
`vagrantup.com` for more information on using Vagrant.
然后执行下面命令,可能出现超时,我出现了一次,然后开了个代理重试了下(不知大是否可这个有关)
vagrant up
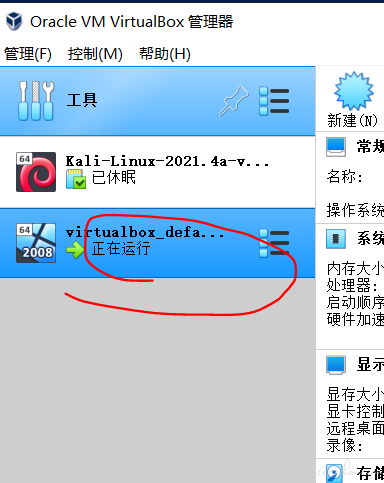
打开虚拟机
输入默认密码:vagrant
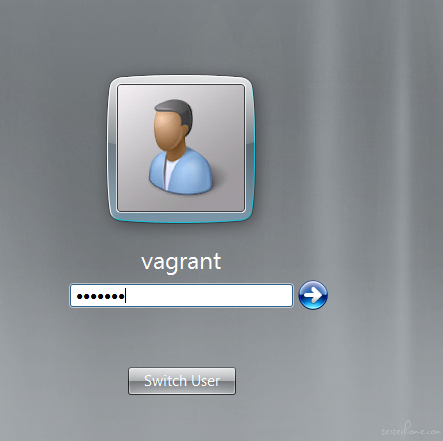
登录后网络也是没有问题

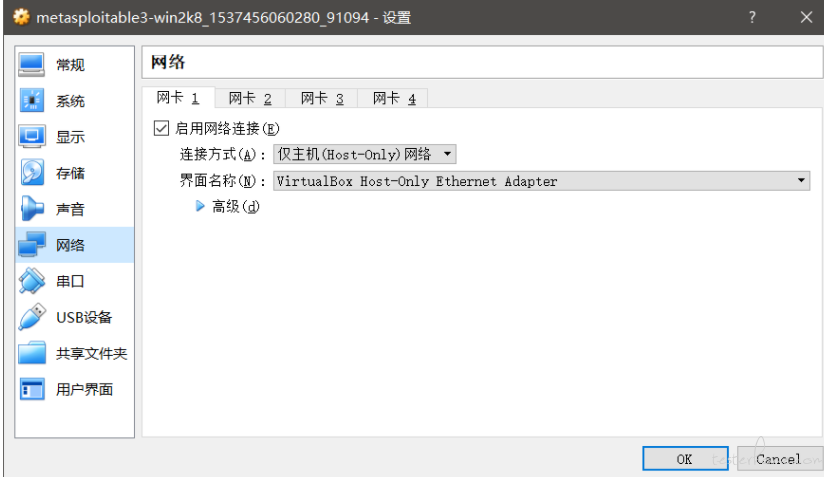
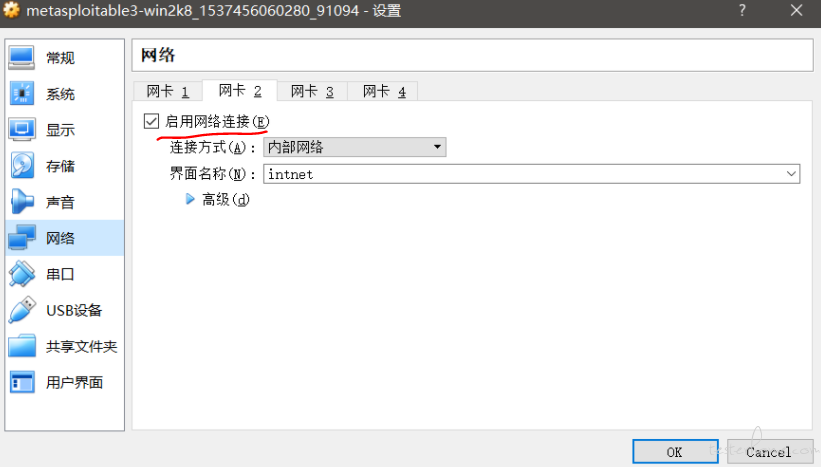
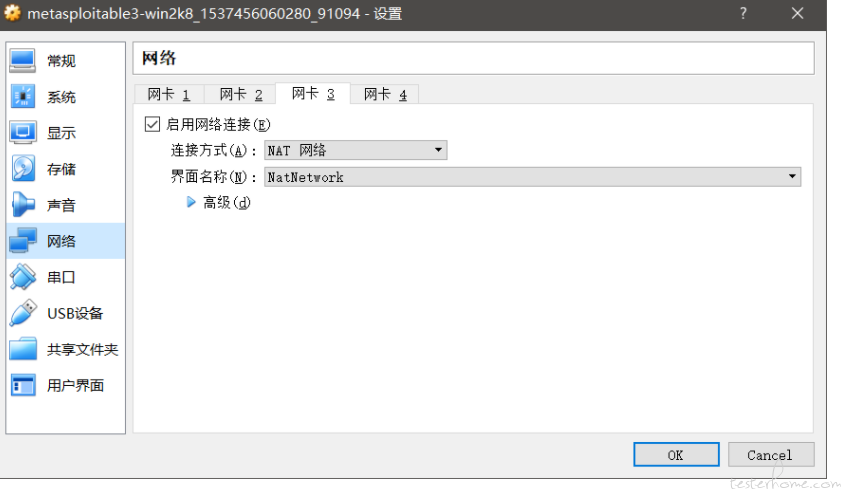
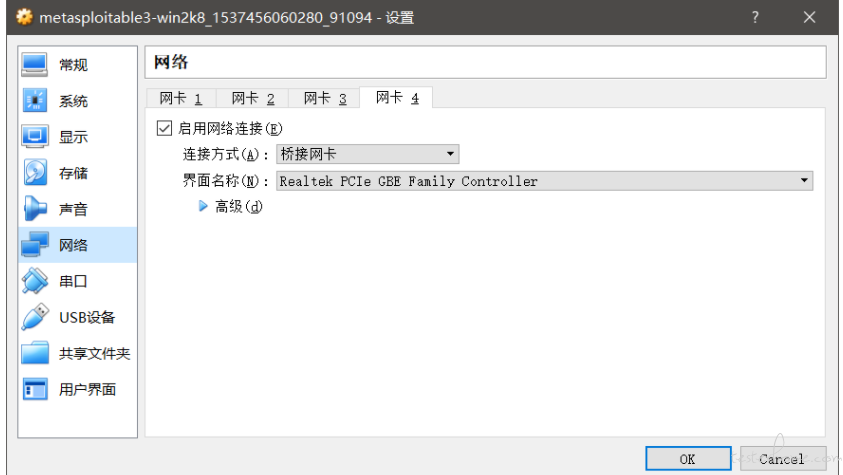
部署好网络,把攻击机和靶机的通信网络设置的一样
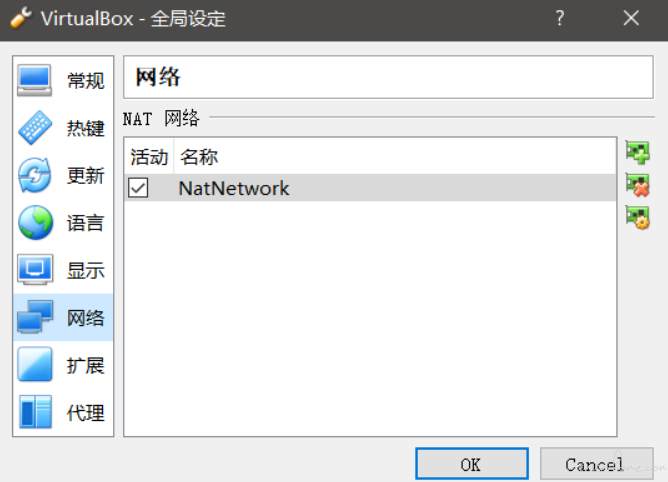
首先,把攻击机和靶机全部关机,然后在 Oracle VM VirtualBox 管理器中,点击管理——全局设定——网络,创建一个 NAT 网络,名字可以随意起。

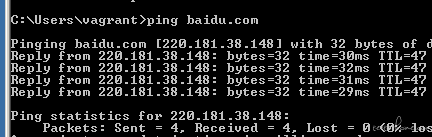
这时候,两个虚拟机都已经部署完毕了,可以同时启动
启动靶场 window 2008 打开 cmd,ping 下,发现网络是通的
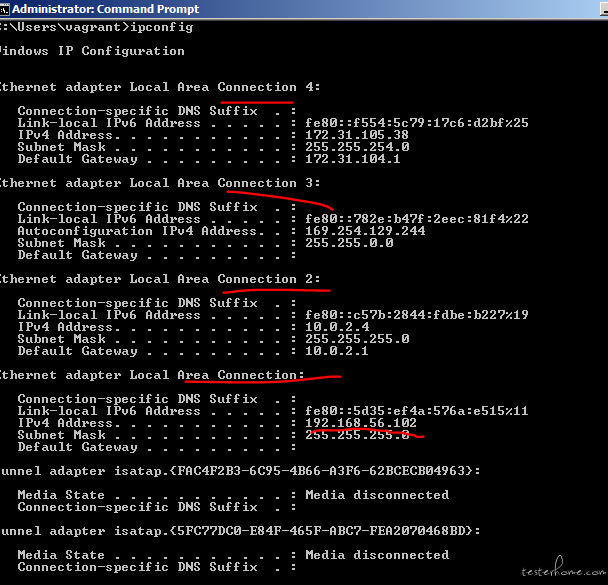
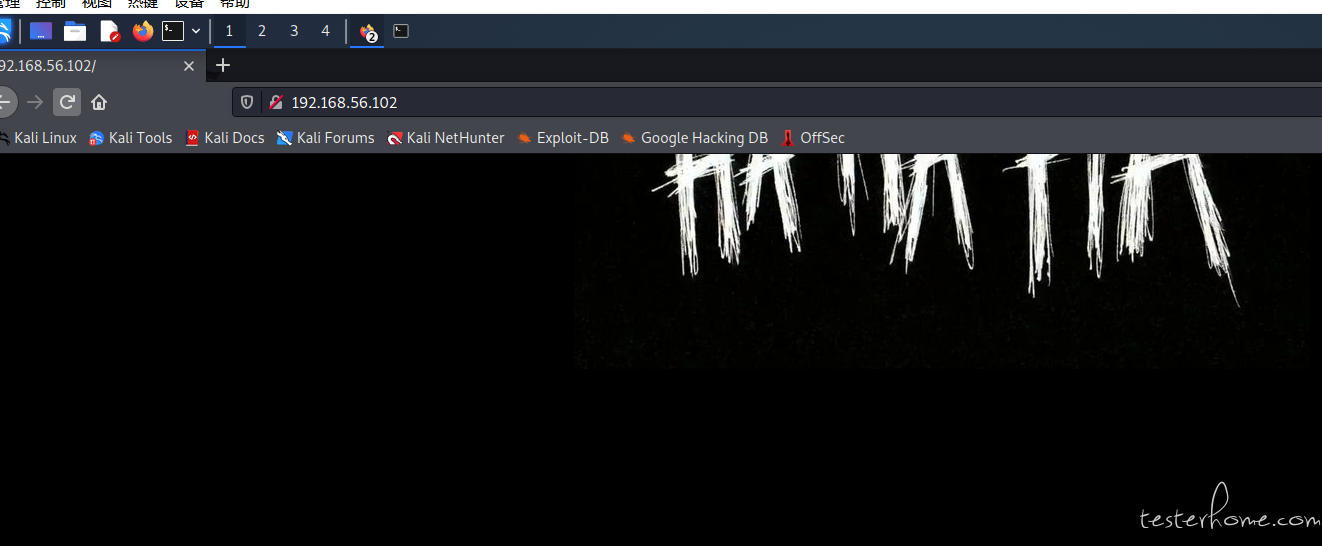
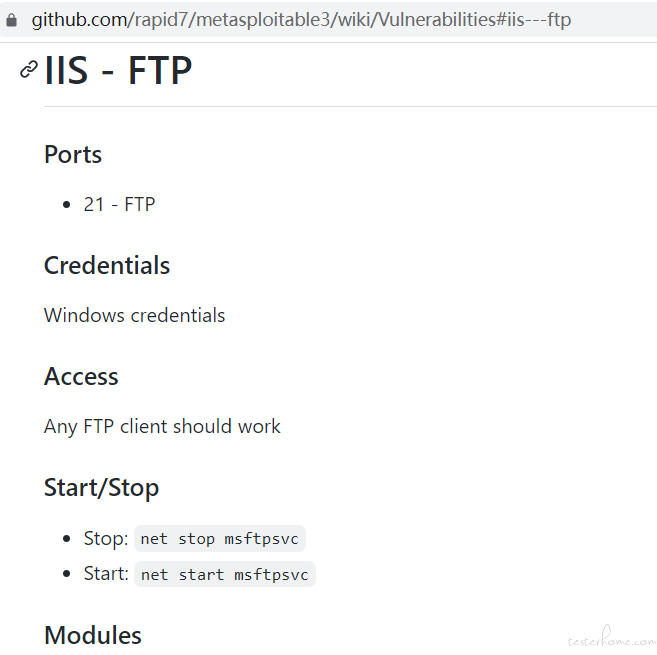
nmap -sV 192.168.56.102