新版本的uiautomatorviewer工具中新增了dump --compressed功能,可以选择只获取界面中呈现在你面前的控件,非常精简。那么它是怎么做到的,是更换命令了么?还是在dump的基础上在本地做了一个优化呢?速度怎么样?我带着这些疑惑开始了源码分析之路。
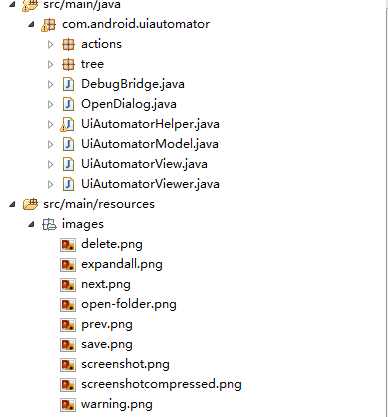
解压缩有项目结构如下:

用你熟悉的方式将源码配置 IDE 中,我用的是 eclipse 具体配置过程如下:
虽然它有build.gradle,但是我用这个往eclipse里导入gradle依然没成功,没关系,用暴力的方式。直接创建一个gradle项目,然后将源码copy进去 (原谅我的无知),创建的过程看gradle 学习 (21)-在 eclipse 中构建 java 项目 。导入以后肯定有很多错误,这是缺少 jar 包造成的,添加如下jar包就行了:

所有 jar 包都可以在你的 sdk 目录下的tools/lib中找到,其中需要注意一点的是swt.jar包在以x86开始的文件夹中,选择对应平台的jar包就行。

等这些都完成以后,代码中的 x 号就会消失,项目结构如下:

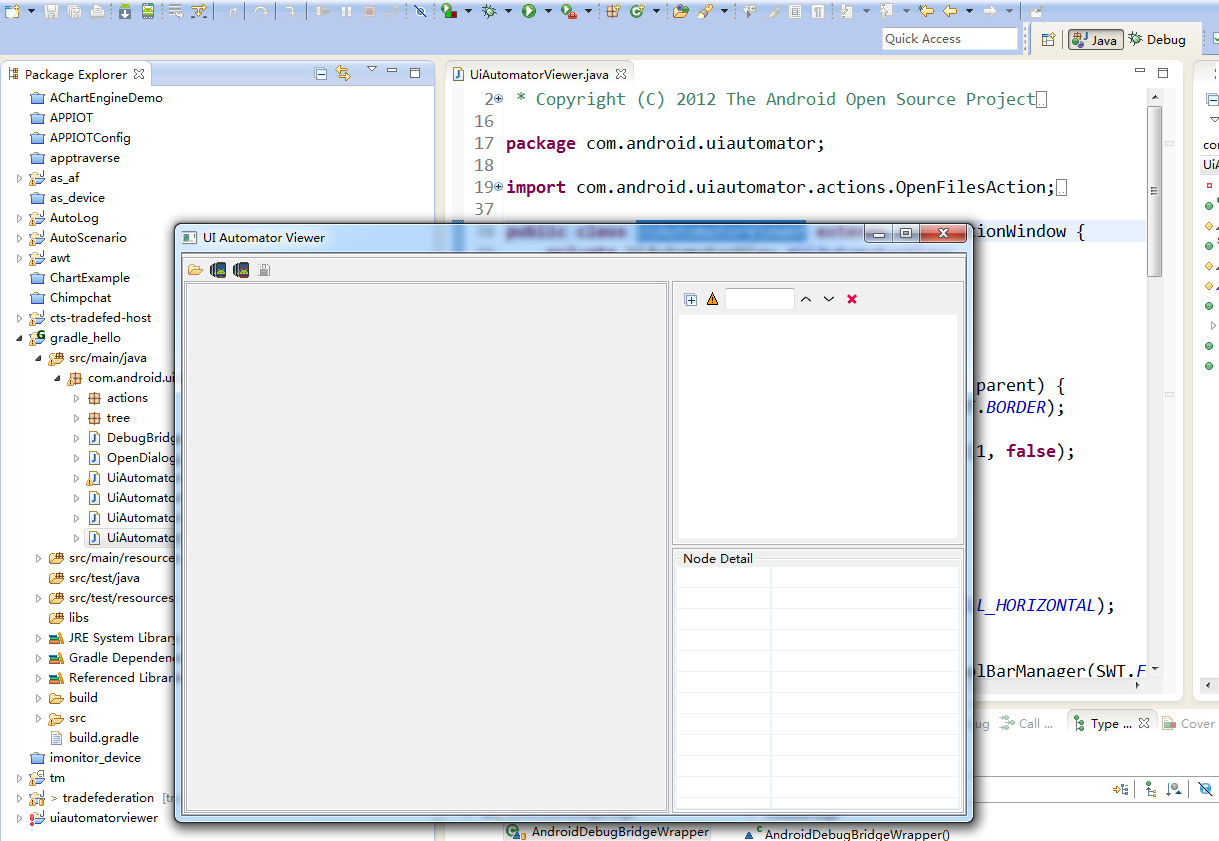
这个时候在UiAutomatorViewer类中启动 main 方法,会出现我们熟悉的uiautomatorviewer工具界面:

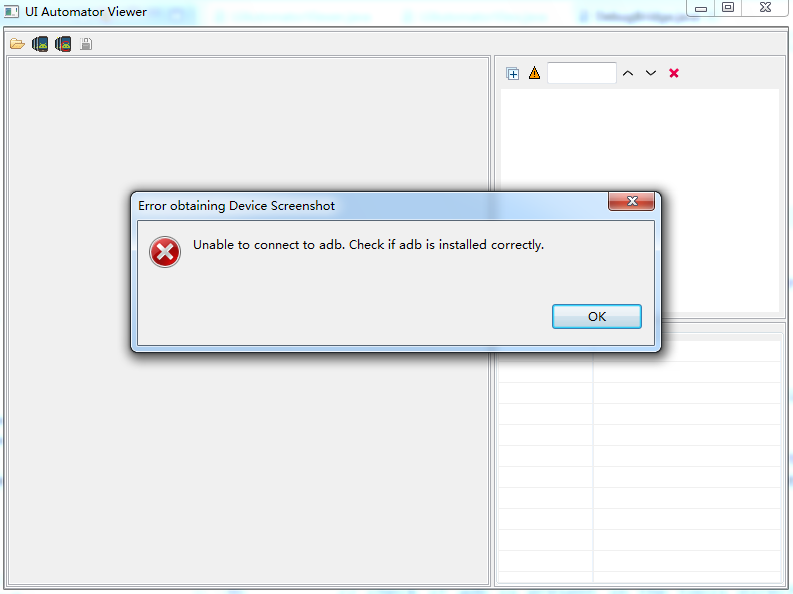
这个时候你点击Device screentshot按钮会报错:

这是因为 uiautomatorviewer 项目是根据com.android.uiautomator.bindir属性去找 sdk 路径的,这就要求你启动的时候需要去添加这个属性。打开DebugBridge类可以看到 getAdbLocation() 方法中代码:
String toolsDir = System.getProperty("com.android.uiautomator.bindir"); //$NON-NLS-1$
        if (toolsDir == null) {
            return null;
        }

        File sdk = new File(toolsDir).getParentFile();

        // check if adb is present in platform-tools
        File platformTools = new File(sdk, "platform-tools");
        File adb = new File(platformTools, SdkConstants.FN_ADB);
        if (adb.exists()) {
            return adb.getAbsolutePath();
        }

        // check if adb is present in the tools directory
        adb = new File(toolsDir, SdkConstants.FN_ADB);
        if (adb.exists()) {
            return adb.getAbsolutePath();
        }

        // check if we're in the Android source tree where adb is in $ANDROID_HOST_OUT/bin/adb
        String androidOut = System.getenv("ANDROID_HOST_OUT");
        if (androidOut != null) {
            String adbLocation = androidOut + File.separator + "bin" + File.separator +
                    SdkConstants.FN_ADB;
            if (new File(adbLocation).exists()) {
                return adbLocation;
            }
        }

        return null;
你可以在main方法中加上这个属性,通过System.setProperty(key, value)来设置,key 就是上面com.android.uiautomator.bindir,value值就是你的 sdk 路径,当然这种方式是不好的,换路径了还得再改,这个很不好的。当然我们不必鸟它,我们采用 cts 的方式。将返回null值的地方全部用adb代替,代码修改如下:
private static final String ADB_COMMAND = "adb";

    private static String getAdbLocation() {
        String toolsDir = System.getProperty("com.android.uiautomator.bindir"); //$NON-NLS-1$
        if (toolsDir == null) {
            return ADB_COMMAND;
        }
        ......

        return ADB_COMMAND;
    }
好,这个时候我们再次点击Device screenshot按钮,就可以像往常一样得到设备的界面了和控件信息了:

源码搭建完成,就可以进入主题了,开始研究源码了,在ScreenshotAction类中的run方法里打上断点,以Debug As启动应用程序,然后点击Device screentshot with Compressed进入Debug界面。第一行代码自然是我们断点的地方,因为我们主要看dump --compressed这个功能点,其他地方我就不多做介绍了,我加快速度了,直接进入正题,一路debug到了UiAutomatorHelper的静态方法getUiHierarchyFile(IDevice device, File dst, IProgressMonitor monitor, boolean compressed)中,看重要代码 (如果你debug不过来,你直接把断点打在下面的代码块就行了):
private static void getUiHierarchyFile(IDevice device, File dst,
            IProgressMonitor monitor, boolean compressed) {
         ......
       monitor.subTask("Taking UI XML snapshot...");
        if (compressed){
            command = String.format("%s %s --compressed %s", UIAUTOMATOR,
                UIAUTOMATOR_DUMP_COMMAND,
                UIDUMP_DEVICE_PATH);
        } else {
            command = String.format("%s %s %s", UIAUTOMATOR,
                    UIAUTOMATOR_DUMP_COMMAND,
                    UIDUMP_DEVICE_PATH);
        }
        CountDownLatch commandCompleteLatch = new CountDownLatch(1);
        try {
            CountDownLatch commandCompleteLatch = new CountDownLatch(1);
            device.executeShellCommand(command,
                    new CollectingOutputReceiver(commandCompleteLatch));
            commandCompleteLatch.await(5, TimeUnit.SECONDS);
        } catch (Exception e1) {
            // ignore exceptions while deleting stale files
        }
        ......
    }
执行的命令我们得到
/system/bin/uiautomator dump --compressed /data/local/tmp/uidump.xml
那第一个问题解决了,就是这是一个新命令dump --compressed(之前没用过,不知道是不是最新的)。我们获得的简洁版的控件信息也不是在本地优化的,是直接在server端传过来就是这样的,这样速度会提高不少。
C:\Users\hui.qian>adb shell /system/bin/uiautomator dump --compressed /data/loca
l/tmp/uidump.xml
UI hierchary dumped to: /data/local/tmp/uidump.xml

C:\Users\hui.qian>adb pull /data/local/tmp/uidump.xml c:\
394 KB/s (6308 bytes in 0.015s)
C:\Users\hui.qian>adb shell /system/bin/uiautomator dump /data/local/tmp/uidump.
xml
UI hierchary dumped to: /data/local/tmp/uidump.xml

C:\Users\hui.qian>adb pull /data/local/tmp/uidump.xml c:\1.xml
1363 KB/s (21778 bytes in 0.015s)
将上面 2 个文件进行比较就会发现简洁不少。
