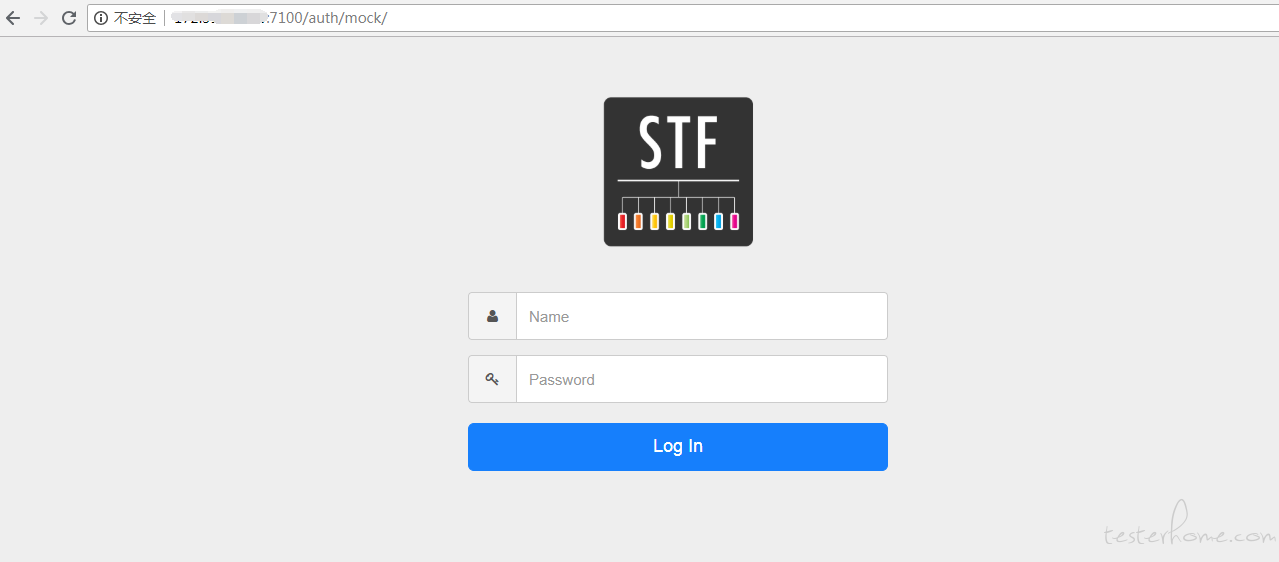
在 stf 登录页面,如何使用数据库中的账号和密码来实现登录功能呢,本篇文档将详细介绍

一、初始化表的数据
1.确保 stf 服务已开启
2.再打开一个 linux 终端,输入命令:node,进入 node 模式

3.然后执行以下脚本,初始化账号 admin/admin
r = require('rethinkdb')
r.connect({ host: 'localhost', port: 28015 }, function(err, conn,callback) {
  r.db('stf').table("users").insert([
  {
    "createdAt": r.now(),
    "email": "admin@126.com",
    "forwards": [ ],
    "group": "FOPnIQ0mRJuwda/mi02kUg==" ,
    "ip": "::ffff:127.0.0.1" ,
    "lastLoggedInAt": r.now(),
    "name": "admin" ,
    "password": "admin" ,
    "settings": { }
}
]).run(conn, callback);
});
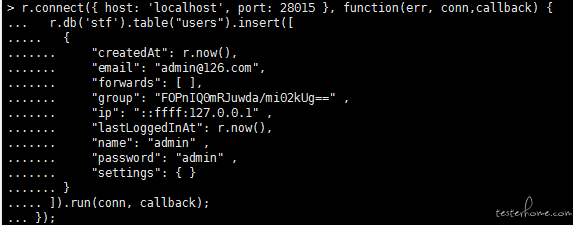
4.如何验证数据添加成功
在浏览器中输入http://localhost:8080rethinkdb打开 的 DataExplorer,输入以下脚本:
r.db('stf').table('users').get('admin@126.com')
在 tableview 视图下可以看到以下结果:
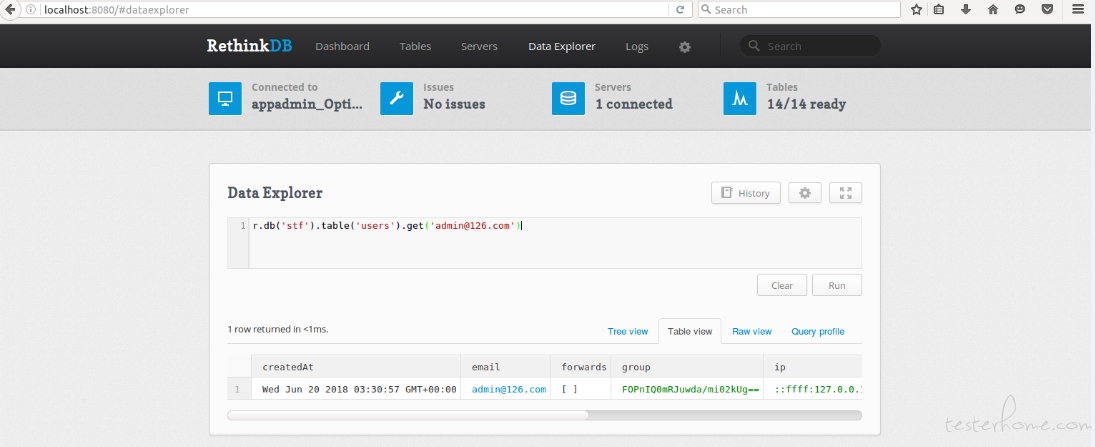
如果可以查询出来记录,则证明数据初始化成功。
二、修改后端登录接口
1.修改\lib\util\urlutil.js 脚本,添加登录方法,代码如下所示(注:由于执行顺序问题,这里使用了回调来解决):
module.exports.isLogin = function(name,password,callback) {
  var canLogin=false;
  var mail = "";
  var index=0;
  r.connect({ host: 'localhost', port: 28015 }, function(err, conn) {
  r.db('stf').table('users').run(conn, function(err, cursor) {
      cursor.each(function(err, users) {
        if(name==users.name && password==users.password){
          index++;
          canLogin=true;
          mail=users.email;
          // 回调函数
          callback(canLogin,mail);
        }
        else{
          if(cursor._responseIndex==0 && index==0){
            callback(canLogin,mail);
          }
        }
      });
    });
  });
}
2.修改\lib\units\auth\mock.js 脚本,增加返回参数 isLogin、email,修改后的脚本如下:
  app.post('/auth/api/v1/mock', function(req, res) {
    var log = logger.createLogger('auth-mock')
    log.setLocalIdentifier(req.ip)
    switch (req.accepts(['json'])) {
      case 'json':
        urlutil.isLogin(req.body.name, req.body.password, function (canLogin,mail) {
          requtil.validate(req, function() {
            req.checkBody('name').notEmpty()
            req.checkBody('email').isEmail()
          })
          .then(function() {
            log.info('Authenticated "%s"', req.body.email)
            var token = jwtutil.encode({
              payload: {
                email: req.body.email
              , name: req.body.name
              }
            , secret: options.secret
            , header: {
                exp: Date.now() + 24 * 3600
              }
            })
            // 执行登录后的操作
            res.status(200)
            .json({
              success: true
            , isLogin: canLogin
            , email:mail
            , redirect: urlutil.addParams(options.appUrl, {
                jwt: token
              })
            })
          })
          .catch(requtil.ValidationError, function(err) {
            // 执行登录后的操作
            res.status(400)
            .json({
              success: false
              , isLogin: canLogin
              , email:mail
              , error: 'ValidationError'
              , validationErrors: err.errors
            })
          })
          .catch(function(err) {
            log.error('Unexpected error', err.stack)
            // 执行登录后的操作
            res.status(500)
              .json({
                success: false
                , isLogin: canLogin
              , email:mail
              , error: 'ServerError'
            })
          })
        })
        break
      default:
        res.send(406)
        break
    }
  })

  server.listen(options.port)
  log.info('Listening on port %d', options.port)
}
三、修改前端登录脚本
修改\res\auth\mock\scripts\signin\signin-controller.js 脚本,修改点击登录事件的函数,完整代码如下所示:
module.exports = function SignInCtrl($scope, $http) {

  $scope.error = null

  $scope.submit = function() {
    var name =  $scope.signin.username.$modelValue;
    var password = $scope.signin.email.$modelValue;
    var mail="abc@126.com";
    if(true)
    {
      var canLogin = false;
      var data = {
        name: $scope.signin.username.$modelValue
        , email: mail
        , password: $scope.signin.email.$modelValue
      }
      $http.post('/auth/api/v1/mock', data)
        .success(function(response) {
          console.log(response.isLogin)
          if(response.isLogin==true){
            canLogin = true;
            mail=response.email;
            //
            if(canLogin==true){
              var data = {
                name: $scope.signin.username.$modelValue
                , email: mail
                , password: $scope.signin.email.$modelValue
              }
              $http.post('/auth/api/v1/mock', data)
                .success(function(response) {
                  console.log(mail);
                  location.replace(response.redirect)
                })
                .error(function(response) {
                })
            }
            //
          }
          else{
            alert("账号或密码错误,请联系系统管理员");
          }
        })
        .error(function(response) {
          alert("账号或密码错误,请联系系统管理员");
        })
    }
  }
}
四、提交代码,并重启 stf 服务
1.代码修改完毕后,build 之后再重启 stf 服务
先删除 res/build 目录,然后在服务器端重新打开一个终端执行以下命令:
cd /work/stf-master/
sh /work/sh/build
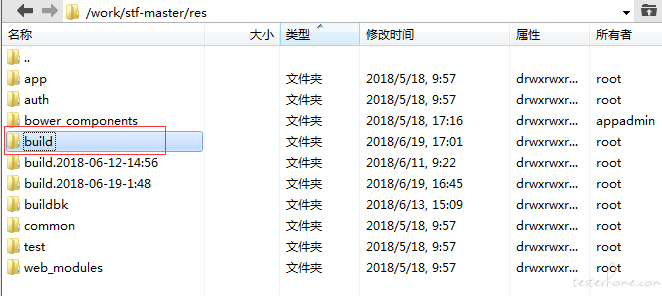

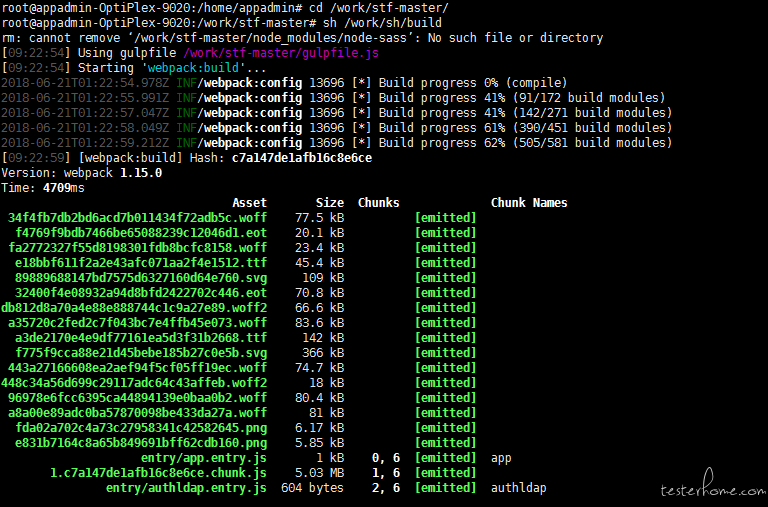
如果看到输出信息 Build progress 100% (complete),则说明 build 成功
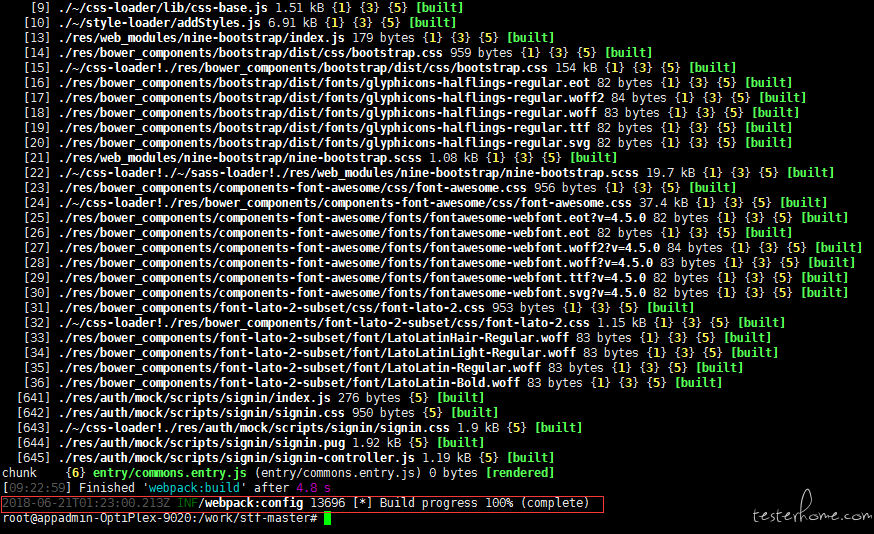
再打开 stf 服务终端窗口,按 ctrl+c 停止 stf 服务后,再执行 stf local --public-ip XX.XX.XX.XX–allow-remote,重启 stf 服务
五、验证登录功能
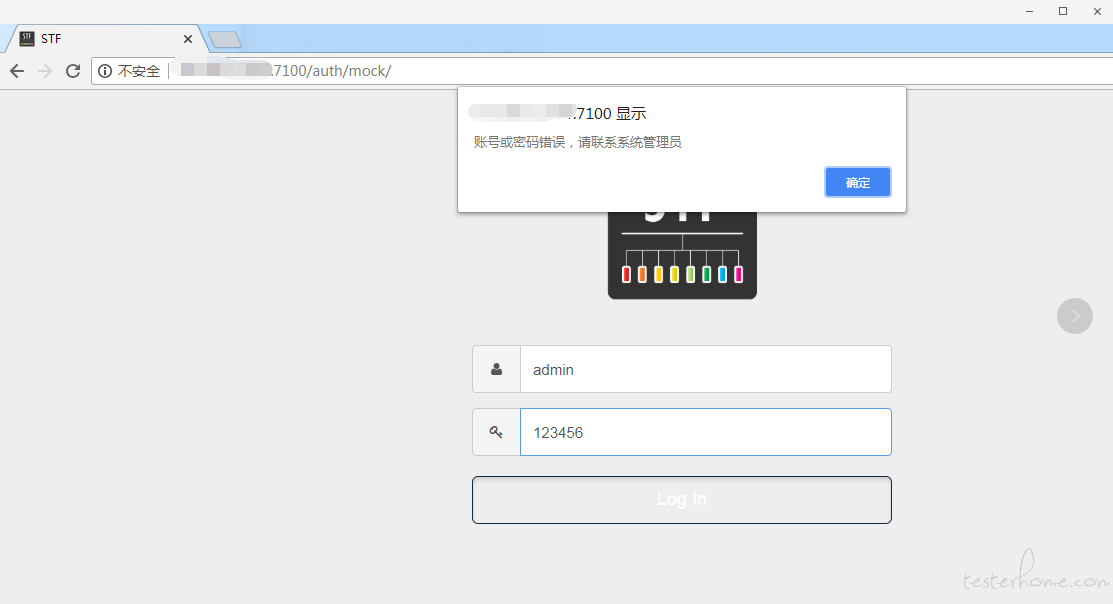
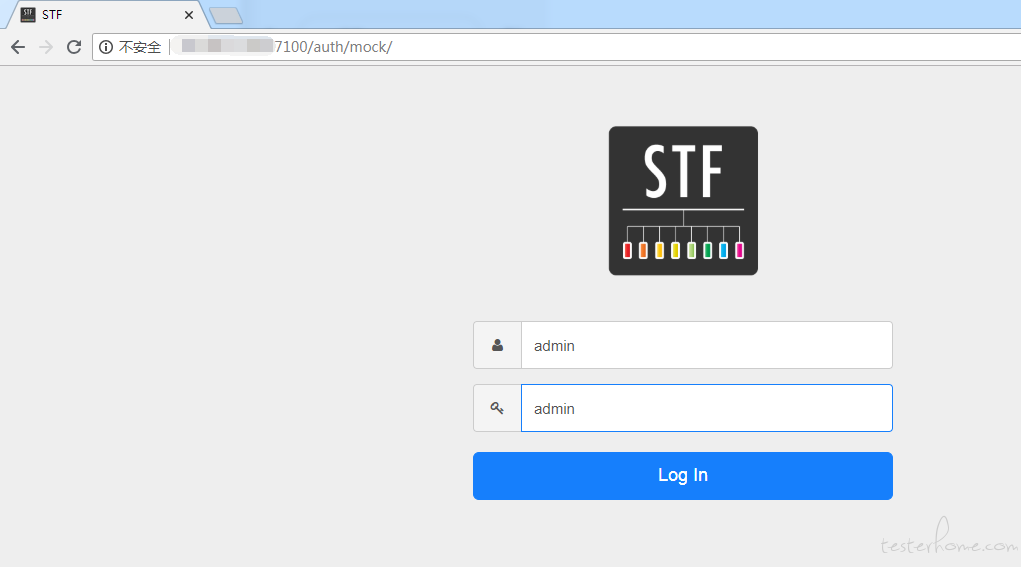
1.在浏览器中打开登录页面地址,输入账号密码点击登录
当输入错误的密码时,如:admin/123456 时,点击登录,页面会弹出密码错误的提示
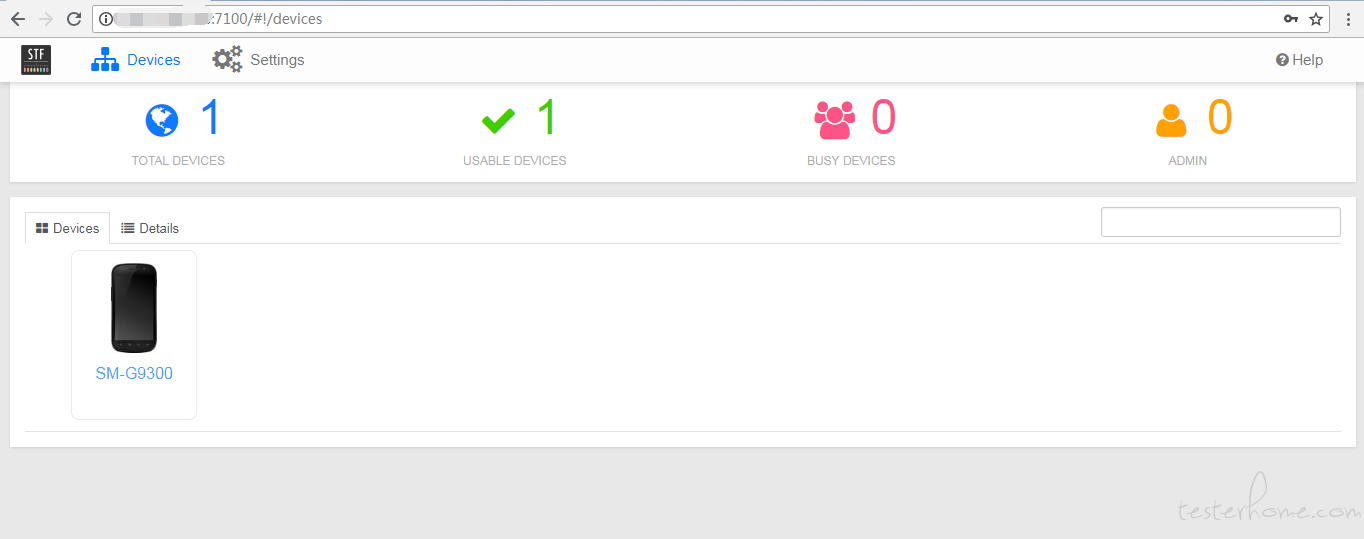
当密码输入正确后,如:admin/admin(和 users 表的数据一致时),将会成功进入到 devices 页面
至此登录功能开发完毕,如有问题,请与我联系。
