
首先介绍一个 maven 依赖库: maven-android-sdk-deployer
A tool to install components of the Android SDK to use with the Maven Android Plugin.
The Maven Android SDK Deployer is a helper maven project that can be used to install the libraries necessary to build Android applications with Maven and the Android Maven Plugin directly from your local Android SDK installation.
简单来说,就是整个东西可以帮助你使用 maven 来构建 android sdk 相关的项目,解决依赖。Appium 的 bootstrap 就是用了这个依赖库。
maven-android-sdk-deployer 目录底下运行 mvn install -P 4.4 这个过程中,可能你的 sdk 有些包没安装,比如 google maps,它会告诉你 build fail,没关系,别管他,除非你想要 maps,那么你先得在 android 的 sdk manager 里面安装它。
mvn install 好之后,我们就可以在 pom.xml 里面大胆的使用:
<dependencies>
       <dependency>
           <groupId>android</groupId>
           <artifactId>android</artifactId>
           <version>4.4.2_r3</version>
       </dependency>

       <dependency>
           <groupId>android.test.uiautomator</groupId>
           <artifactId>uiautomator</artifactId>
           <version>4.4.2_r3</version>
       </dependency>
   </dependencies>
我使用的是 Intellij IDEA
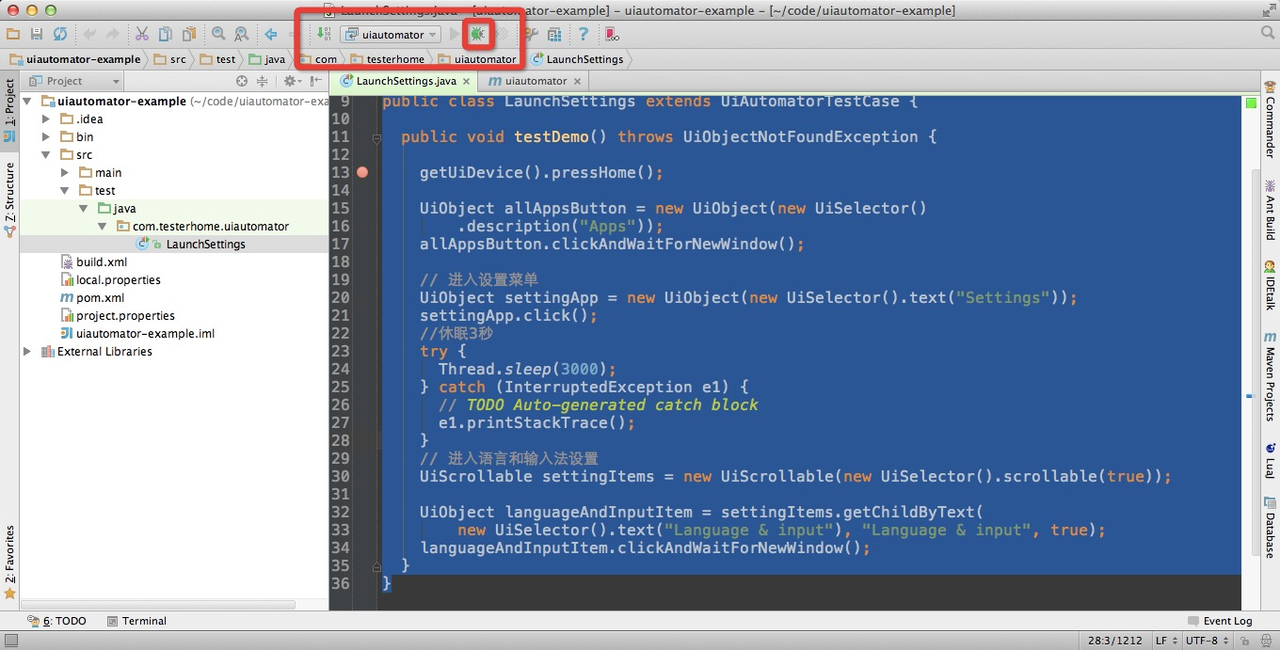
目录结构如下:

注: 按官方文档应该用 junit 3, 不过试验下来用 junit4 也没出问题。
内容不要尽抄。
<?xml version="1.0" encoding="UTF-8"?>
<project xmlns="http://maven.apache.org/POM/4.0.0"
         xmlns:xsi="http://www.w3.org/2001/XMLSchema-instance"
         xsi:schemaLocation="http://maven.apache.org/POM/4.0.0 http://maven.apache.org/xsd/maven-4.0.0.xsd">
    <modelVersion>4.0.0</modelVersion>

    <groupId>com.testerhome</groupId>
    <artifactId>uiautomator</artifactId>
    <version>1.0-SNAPSHOT</version>

    <dependencies>
        <dependency>
            <groupId>android</groupId>
            <artifactId>android</artifactId>
            <version>4.4.2_r3</version>
        </dependency>

        <dependency>
            <groupId>android.test.uiautomator</groupId>
            <artifactId>uiautomator</artifactId>
            <version>4.4.2_r3</version>
        </dependency>

        <dependency>
            <groupId>junit</groupId>
            <artifactId>junit</artifactId>
            <version>4.11</version>
        </dependency>
    </dependencies>

</project>
测试代码如下:
package com.testerhome.uiautomator;// Import the uiautomator libraries

import com.android.uiautomator.core.UiObject;
import com.android.uiautomator.core.UiObjectNotFoundException;
import com.android.uiautomator.core.UiScrollable;
import com.android.uiautomator.core.UiSelector;
import com.android.uiautomator.testrunner.UiAutomatorTestCase;

public class LaunchSettings extends UiAutomatorTestCase {

  public void testDemo() throws UiObjectNotFoundException {

    getUiDevice().pressHome();

    UiObject allAppsButton = new UiObject(new UiSelector()
        .description("Apps"));
    allAppsButton.clickAndWaitForNewWindow();

    // 进入设置菜单
    UiObject settingApp = new UiObject(new UiSelector().text("Settings"));
    settingApp.click();
    //休眠3秒
    try {
      Thread.sleep(3000);
    } catch (InterruptedException e1) {
      // TODO Auto-generated catch block
      e1.printStackTrace();
    }
    // 进入语言和输入法设置
    UiScrollable settingItems = new UiScrollable(new UiSelector().scrollable(true));

    UiObject languageAndInputItem = settingItems.getChildByText(
        new UiSelector().text("Language & input"), "Language & input", true);
    languageAndInputItem.clickAndWaitForNewWindow();
  }
}
android create uitest-project -n uiautomator-example -t 1 -p uiautomator-example
ant build
adb push bin/uiautomator-example.jar /data/local/tmp/
adb shell uiautomator runtest uiautomator-example.jar -c com.testerhome.uiautomator.LaunchSettings
基本上测试脚本就运行起来了。
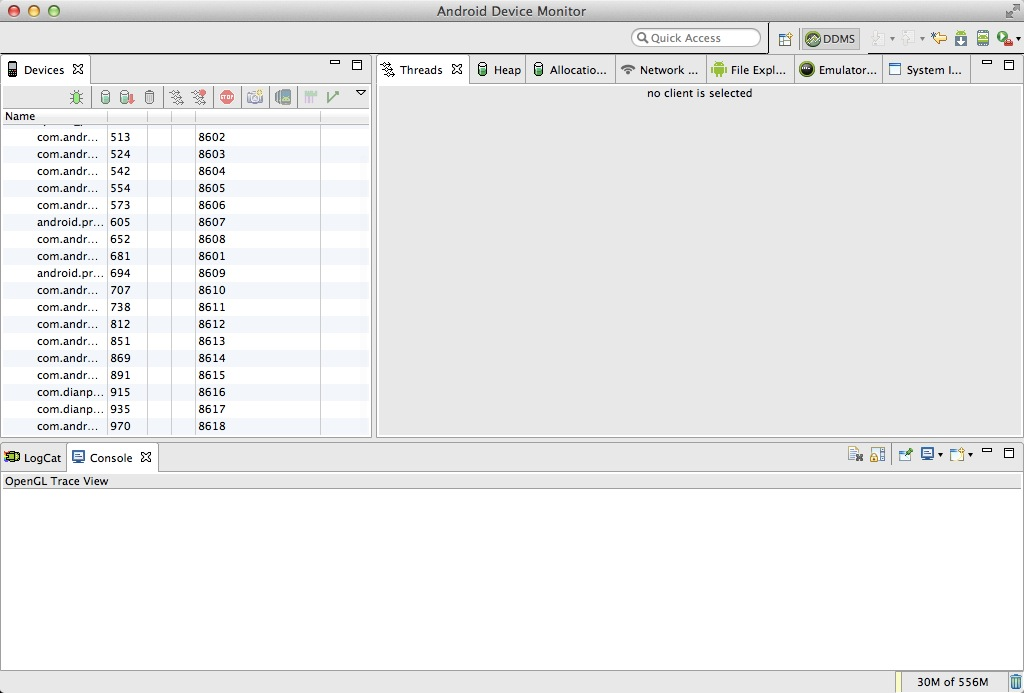
打开 Android Device Monitor, DDMS 的继任。
The standalone version of DDMS is deprecated.
Please use Android Device Monitor (tools/monitor) instead.
然后使用 debug 模式重新运行:
adb shell uiautomator runtest uiautomator-example.jar -c com.testerhome.uiautomator.LaunchSettings -e debug true
➜  uiautomator-example  adb shell uiautomator runtest uiautomator-example.jar -c com.testerhome.uiautomator.LaunchSettings -e debug true
Sending WAIT chunk
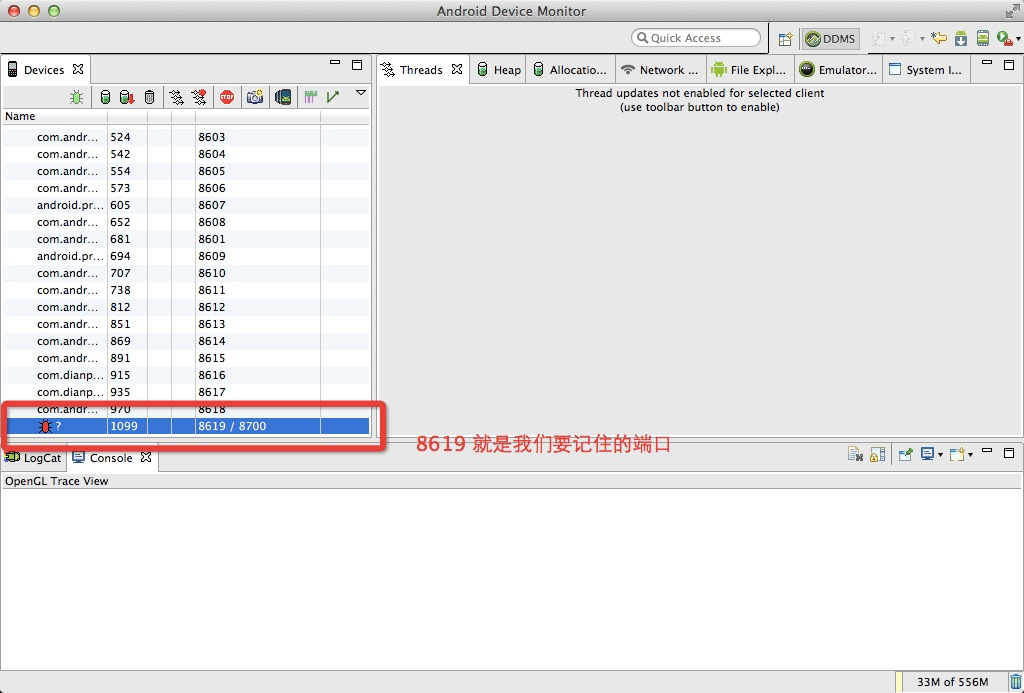
再看 monitor,你会发现有个红色虫子的进程,那个端口就是 debug 监听的端口。
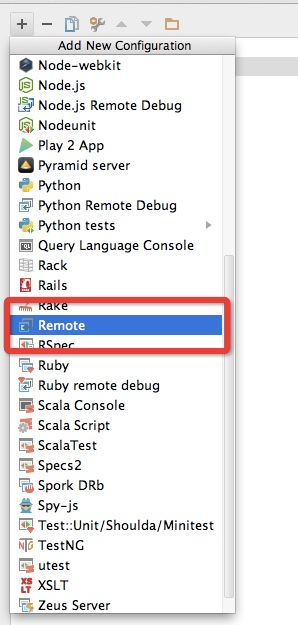
我们再打开, intellij idea 的 debug 配置,添加一个 remote 调试,
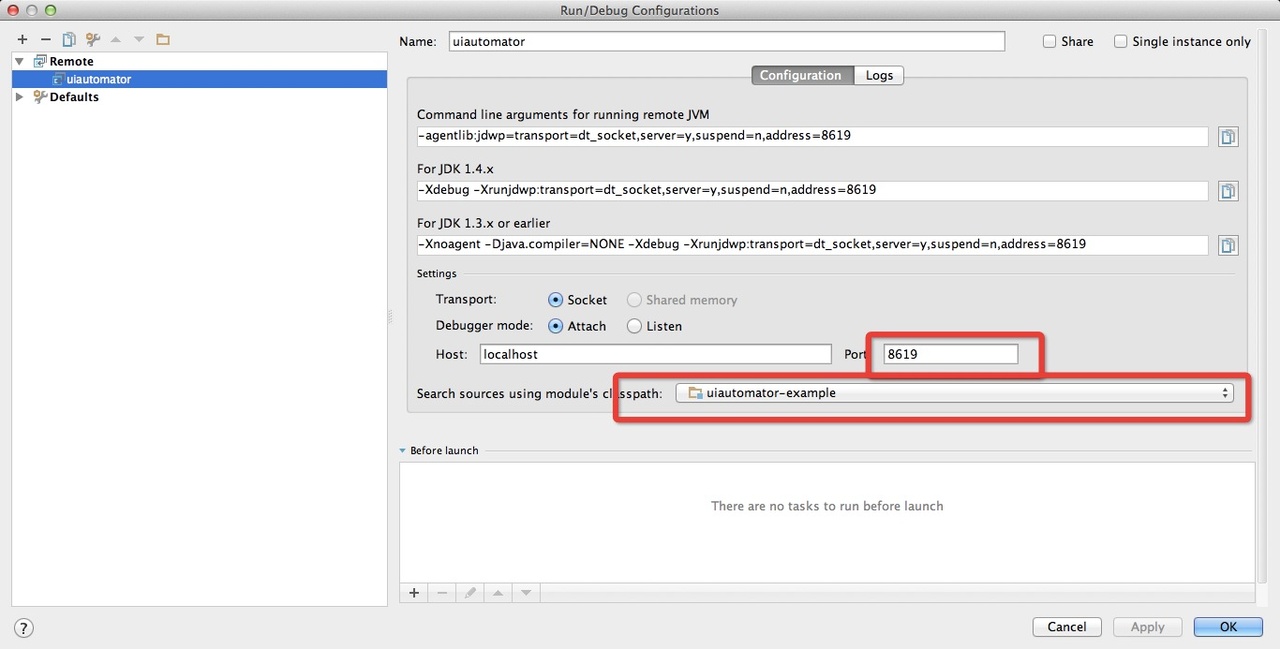
更改端口为之前拿到的端口,然后 module classpath 设置为要 debug 的模块,保存
在主窗口,选择刚刚保存的 remote 配置,运行 debug,
顺利进入 debug 模式:

