本教程使用的到技术栈如下:
操作系统:windows10,
编程语言:node.js 8.9.4 https://nodejs.org/en/
代码编辑器: CukeTest http://cuketest.com/
用到的 http 库 got :https://www.npmjs.com/package/got
被测 API:https://developer.github.com/v3/#authentication
上篇文章链接:https://testerhome.com/topics/11940
一般情况下,我们 api 的用户验证方式为如下三种:
本次代码样例中使用 用户名/密码 方式.
操作如下:
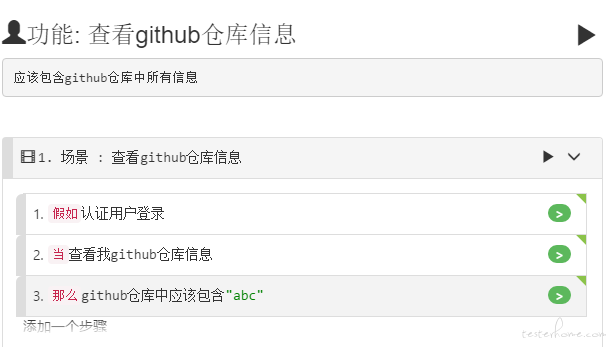
在 CukeTest 中新建 feature 文件,定义测试用例
# language: zh-CN
功能: 查看github仓库信息
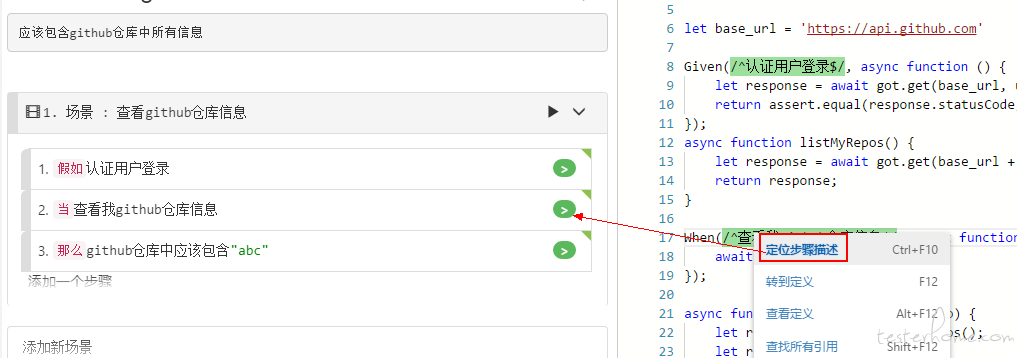
应该包含github仓库中所有信息
场景: 查看github仓库信息
假如认证用户登录
当查看我github仓库信息
那么github仓库中应该包含"abc"
CukeTest 中可视化界面如下:
打开 definitions.js 文件生成对应的代码:
defintions.js
var { Given, When, Then } = require('cucumber')
var got = require('got')
var assert = require('assert')
var { userinfo, username } = require('../../config')

let base_url = 'https://api.github.com'

Given(/^认证用户登录$/, async function () {
    let response = await got.get(base_url, userinfo)
    return assert.equal(response.statusCode, 200);
});
async function listMyRepos() {
    let response = await got.get(base_url + '/user/repos', userinfo)
    return response;
}

When(/^查看我github仓库信息$/, async function () {
    await listMyRepos();
});

async function myReposIncludes(repo) {
    let response = await listMyRepos();
    let res = response.body;
    let arr = [];
    for (let v of res) {
        arr.push(v.name)
    }
    return assert.ok(arr.indexOf(repo) > -1);
}

Then(/^github仓库中应该包含"([^"]*)"$/, async function (repo) {
    return await myReposIncludes(repo);
});
config.js
exports.userinfo = {
    json:true,
    auth:'yourGItHubUserName:YourPasswd'
}

exports.username = 'yourGItHubUserName'
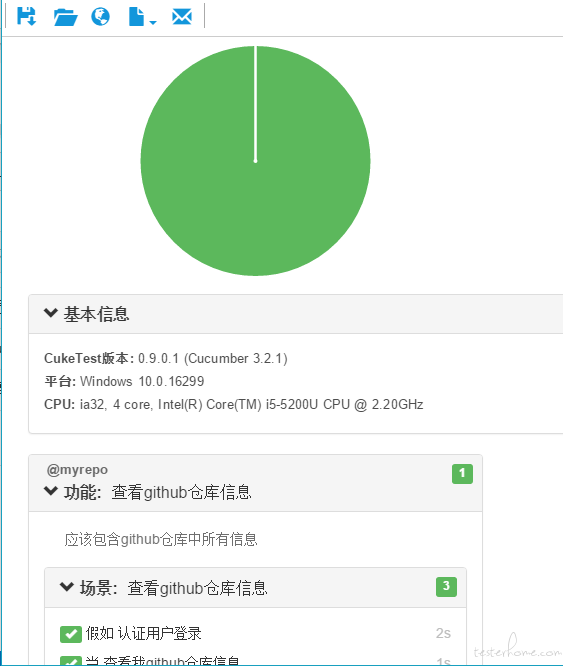
点击运行项目,即可自动运行项目代码,运行完毕后自动生成测试报告。
所有代码已经上传到 github:
https://github.com/imzengyang/API-testing
更新依赖包配置按钮,下载项目依赖项。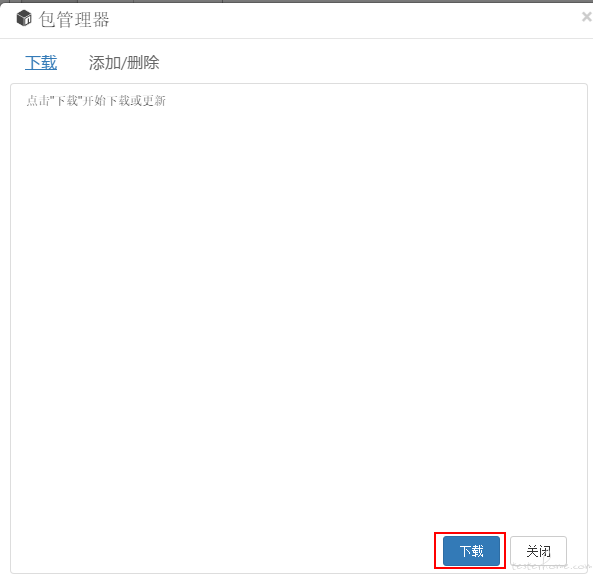
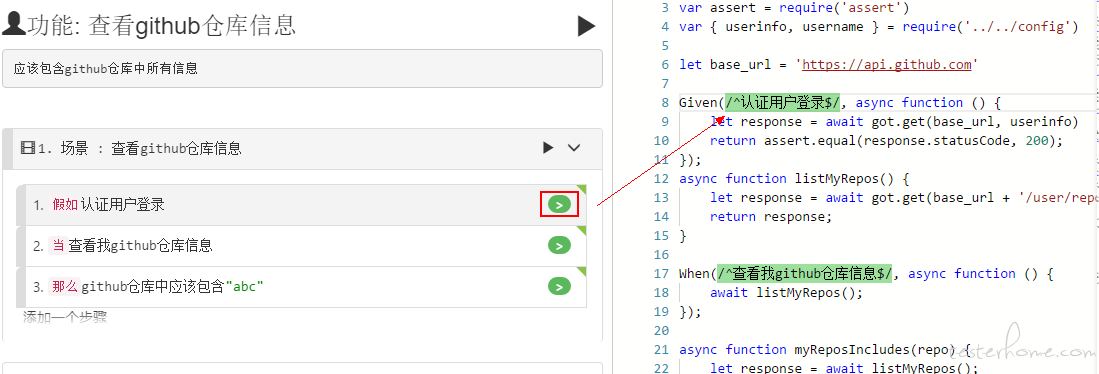
同理: 在 js 文件内函数上右键 -- 定位步骤描述,也能从代码位置跳转到对应操作步骤上面。
使用 BDD 的方式做自动化测试,希望能够给团队的测试人员更多一种选择。
使用 BDD 的方式,能够让团队中的更多同事参与进来。
